
Home > Honeywell Home > Honeywell Home X1N Non Programmable Thermostat Installation Guide
Honeywell Home X1N Non Programmable Thermostat Installation Guide













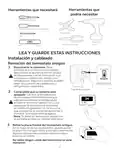







4
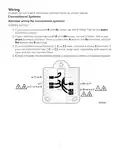
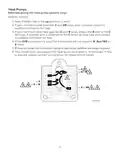
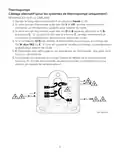
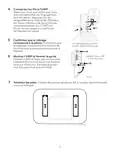
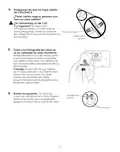
Connect wires to the UWP.
Refer to the notes you recorded on
the chart during removal. Depress
the tabs to put the wires into the
inner holes of their corresponding
terminals on the UWP (one wire per
terminal) until it is firmly in place.
5
6
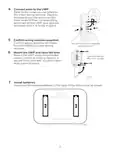
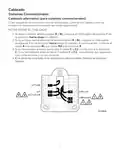
Confirm wiring matches snapshot.
Confirm wiring matches terminals
from the photo you took during
removal.
This wiring is just an example;
yours may vary.
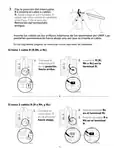
Mount the UWP and close the door.
Mount the UWP using the provided
screws. Install all three screws for a
secure fit on your wall. Close the door
after you’re finished.
Use 3x supplied
#6 1-1/2” screws
M39445
7
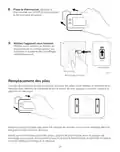
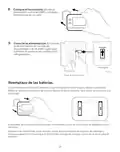
Install batteries.
Insert two AA alkaline batteries in the back of the thermostat as shown.
M39489
9

| General | Details |
|---|---|
| Name | Honeywell Home X1N Non Programmable Thermostat Installation Guide |
| Make | Honeywell Home |
| Language | English |
| Filetype | PDF (Download) |
| File size | 1.69 MB |
 (1 votes, average: 5.00 out of 5)
 Loading...

Honeywell Home TH8320R1003-Uv VisionPRO 8000 with RedLINK Multistage Thermostat Installation Guide

Honeywell Home TH2110DH 1 Cool Programmable Digital Thermostat Installation Guide

Honeywell Home DT4R Wireless Room Thermostat User Guide

Honeywell Home N100 Series Non Programmable Thermostat User Guide

Honeywell Home DT4M Wired Room Thermostat User Manual

Honeywell Home T834 Series Thermostat Owner’s Manual

Honeywell Home M38794 T10 and T10 plus Pro Smart Thermostat with RedLINK Installation Guide

Honeywell Home DT4 Channel Wired Room Thermostat Instruction Manual

Honeywell Home T10 Smart Home Thermostat Instructions

Honeywell Home FocusPRO Smart S200 Series Smart Thermostat User Guide


Schneider Electric 2290B Programmable Room Thermostat Instruction Manual

HIVE SLT3 Thermostat User Guide

Danfoss AN325057 Icon Wireless Room Thermostat Installation Guide

Shanghai Beok Controls TGR85 Smart Zigbee Underfloor Heating Thermostat User Guide

Klima H001 Smart Thermostat For Air Conditioner User Manual

Fantini Cosmi C820RQ LED Thermostat User Manual

EMERSON ST75W Sensi Touch Wi-Fi Smart Thermostat Installation Guide

EPH CONTROLS TRFPi2 COMBIPACK2 Programmable RF Thermostat Instruction Manual

DELTA DORE TYBOX 1117 Programmable Thermostat User Guide

PRO1 T771 Programmable Electronic Thermostat Instructions