
Home > Drayton > Drayton 2290M Digistat 3rd Generation Programmable Room Thermostat Installation Guide
Drayton 2290M Digistat 3rd Generation Programmable Room Thermostat Installation Guide
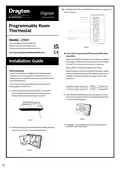



3a. Complete the wiring according to the connection suggestions
shown in (Fig 3).
Digistat
3rd Generation
Programmable Room
Thermostat
Model: 2290M
Technical Helpline Tel: 0333 6000 622
Email: customer.care@draytoncontrols.co.uk
(Fig 3)
User and InstallationGuide06490309001IssE
3b. If your boiler supports OpenTherm please follow these
instructions:
Remove the OpenTherm cables from the existing controller or
thermostat. Connect the cables to the OpenTherm terminals
OT1 and OT2 on theDigistat. Polarity is not important.
Installation Guide
Wire L and N from a separate supply with a 3A fuse.
BeforeInstallation
Note that when connected to an OpenTherm boiler, Installer
Options 06 Valve Protection and 08 Application Type are not
available. The following options will appear in the Installer
Options list:
If you do not have the knowledge to install the thermostat
safely then you must arrange for a competent electrician or
heating egineer to install it for you. Wiring must conform to the
current IEE regulations.
Prior to commencing the installation you must ensure the
mains supply is switched off.
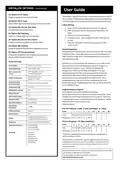
10 Upper CH water set point
11 Lower CH water set point
30-80°C
10-25°C
Default 70°C
Default 10°C
1. Remove the front cover by releasing the 2 screws at the
bottom. Mounting holes and electrical connections are
found underneath the hinged black cover (Fig 1).
4. Close the black hinged terminal cover and replace the front
cover by locating the two latches at the top then fasten the 2
screws at the bottom (Fig 4).
(Fig 4)
(Fig 1)
5. TheDigistat is now installed and will automatically start to
control the room temperature.
2. Fix back plate directly onto the wall using suitable wall plugs
and screws or mount over existing wall box (Fig 2).
(Fig 2)


| General | Details |
|---|---|
| Name | Drayton 2290M Digistat 3rd Generation Programmable Room Thermostat Installation Guide |
| Make | Drayton |
| Language | English |
| Filetype | PDF (Download) |
| File size | 0.31 MB |
 (1 votes, average: 5.00 out of 5)
 Loading...

Drayton RF902 Digistat 3rd Generation Wireless 2-Channel Programmable Thermostat Installation Guide

Drayton Wiser Smart Room Thermostat Instruction Manual
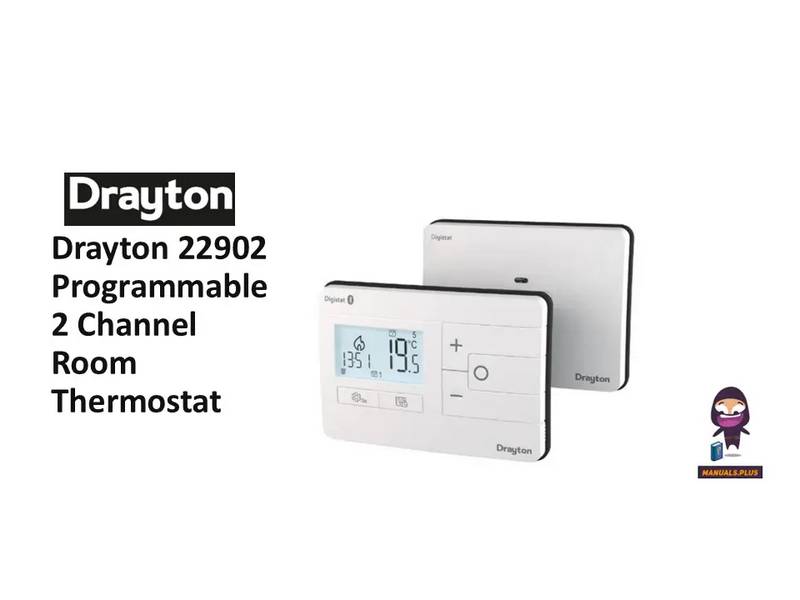
Drayton 22902 Programmable 2 Channel Room Thermostat Installation Guide

Drayton RF710 Digital Wireless Room Thermostat Installation Guide

Drayton 2290M Mains Digital Room Thermostat User Manual

Drayton Digistat 3rd Generation Manual: Questions and Answers
Drayton Digistat 3rd Generation specifications
| Power supply | 230VAC +/-10%, 50Hz |
| Setpoint range | 5°C to 30°C |
| Storage temperature | -20°C to 65°C |
| Humidity | 20% to 80%, 90% non-condensing |
| IP rating | IP30 |
| Radio frequency | 2402-2480 MHz |
Can I use Drayton Digistat with an OpenTherm boiler?
Yes. When connected to OpenTherm, Installer Options 06 and 08 become unavailable, but Options 10 and 11 control water temperature setpoints. Installation Guide, p. 1
How do I change the minimum setpoint temperature?
Enter the Installer Options menu by holding the settings button for 3 seconds.
- Use the + and - buttons to scroll to Installer Options.
- Press O to select.
- Scroll through options to Option 03 (Low Set Point C).
- Press O to select and adjust using + and - buttons.
- Press O to save. Installation Guide, p. 2
What does the Drayton Digistat 3rd Generation Optimum Start feature do?
It uses ambient temperature, next scheduled setpoint and heat gain data to adjust the thermostat setpoint early, reaching the required temperature when the next event starts. Installation Guide, p. 2
Drayton Digistat 3rd Generation compared with other room thermostats
| Specification | Drayton Digistat 3rd Generation | BECA BHP-8000 C | Moes 002 | Schneider Electric 2290B |
|---|---|---|---|---|
| Power supply | 230VAC +/-10%, 50Hz | 24VDC/AC +10% | 95 - 240 V, AC, 50 - 60 Hz | 2x AA 1.5V alkaline batteries |
| Setpoint range | 5°C to 30°C | 42-122 ℉ (5~50℃) | 5 – 35 °C | 5°C to 30°C |
| Storage temperature | -20°C to 65°C | 23~113℉ (-5~45℃) | - 5 – 45 °C | -20°C to 65°C |
| IP rating | IP30 | IP20 | IP 20 | IP30 |
Other Drayton 3rd manuals
More Drayton thermostat manuals

ADAX 62208 WiFi Thermostat User Guide

BEOK CONTROLS TDR89 Thermostat User Guide

fontastic RAVL Wireless Radiator Thermostat User Manual

velleman VM148 Programmable Thermostat Instruction Manual

White Rodgers BP150 Line Voltage Programmable Thermostat User Guide

White-Rodgers 1F56N-444 Thermostat User Manual

Robertshaw RS9423T Thermostat Installation Guide

FC610 Bandary Smart Thermostat Owner’s Manual

FRICO TPT16, TPT16WF Thermostat Instruction Manual

KING ELECTRIC HW120 – Hydronic Electronic Line Voltage Non-Programmable Thermostat User Manual