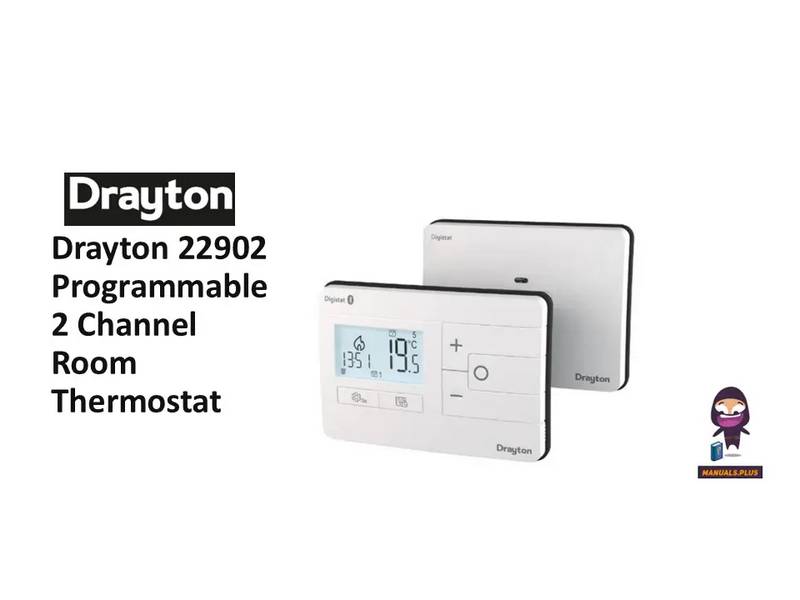
Home > Drayton > Drayton RF902 Digistat 3rd Generation Wireless 2-Channel Programmable Thermostat Installation Guide
Drayton RF902 Digistat 3rd Generation Wireless 2-Channel Programmable Thermostat Installation Guide
1b.Installation of the wallplate
Fixing(minimum wallplate clearances shown below)
Digistat
3rd Generation
i. Loosen the securing screws, remove the wallplate, and if
surface wiring is to be used, snap out the cable entry strip
on the bottom edge of the wallplate with a pair of pliers.
ii. Fix the wallplate, terminals at the top, either direct onto the
Wireless 2-channel
Programmable Thermostat
Model: RF902
N
L
1
2
3
4
Consists ofThermostat RF90T andReceiver RF90D
Technical Helpline Tel: 0333 6000 622
Email: customer.care@draytoncontrols.co.uk
100 mm
Userand Installation Guide06490311001 Iss E
Installation Guide
Before Installation
(Fig 2)
If you do not have the knowledge to install the thermostat safely
then you must arrange for a competent electrician to install it for
you. Wiring must conform to the current IEE regulations.
2. Wiring
This product is double insulated and does not require an earth
connection. The receiver should be wired to the combi boiler or
central heating wiring using the correct type of cable or flex.
The receiver should be wired in to replace hard-wired room
or programmable thermostats shown on the system or boiler
wiring diagrams. Always check other manufacturers’
instructions for compatibility.
Prior to commencing the installation you must ensure the
mains supply is switched off.
1. Installing the DigistatReceiver
1a. Location of the receiver
Location
The Digistat Receiver should be mounted in a convenient
position, close to the bolier or central heating system
wiring centre. It is recommended that the receiver is
mounted on the wall nearest the final location and not
less than 1m from the boiler side panel.
Relay Output
Warning: Installing the receiver too close to metal
objects or mains cables may interfere with the radio
signal.
(Fig 3)
3. Replace the front cover of the receiver by locating the two latches
at the top and then fasten the two screws at the bottom. As
soon as the Digistat receiver has power it will be ready for
pairing with the Digistat RF Thermostat .
1m Min
BOILER
REC
Radio Signal Range:
30m Typically
The range may be affected by composition/density
and number of walls between the Digistat
Preferred side of boiler
thermostat and receiver
(Fig 1)
| General | Details |
|---|---|
| Name | Drayton RF902 Digistat 3rd Generation Wireless 2-Channel Programmable Thermostat Installation Guide |
| Make | Drayton |
| Language | English |
| Filetype | PDF (Download) |
| File size | 0.39 MB |

Drayton Wiser Smart Room Thermostat Instruction Manual

Drayton 2290M Digistat 3rd Generation Programmable Room Thermostat Installation Guide

Drayton 22902 Programmable 2 Channel Room Thermostat Installation Guide

Drayton RF710 Digital Wireless Room Thermostat Installation Guide

Drayton 2290M Mains Digital Room Thermostat User Manual

Drayton RF902 Digistat 3rd Generation Wireless 2-Channel Programmable Thermostat Installation Guide Overview
Summary of Contents
- Page 1: Installation of the wallplate Loosen the securing screws, remove the wallplate, and if surface wiring is to be used, snap out the cable entry strip on the bottom edge of the wallplate with a pair of pliers. Fix the wallplate, terminals at the top, either direct onto the Wireless 2-channel Programmable Thermostat. This product is double insulated and does not require an earth connection. The receiver should be wired to the combi boiler or central heating wiring using the correct type of cable or flex. Prior to commencing the installation you must ensure the mains supply is switched off. The Digistat Receiver should be mounted in a convenient position, close to the boiler or central heating system wiring centre. Warning: Installing the receiver too close to metal objects or mains cables may interfere with the radio signal. As soon as the Digistat receiver has power it will be ready for pairing with the Digistat RF Thermostat. Radio signal range: 30m typically. The range may be affected by composition/density and number of walls between the Digistat thermostat and receiver.
- Page 2: Installer options allow changes to default settings. Access the Installer Options menu by pressing the settings button for 3 seconds. Use the + and - buttons to scroll and select options. The second channel can be used for hot water or a second heating channel. The Partial Sight Assistant provides audible tones for setpoint adjustments. Frost protection maintains a minimum temperature even in OFF mode. Minimum and maximum setpoint limits can be adjusted, affecting all modes. Optimum Start adjusts the thermostat setpoint early based on ambient temperature. Delayed Start saves energy by delaying setpoint implementation. Valve protection time ensures relay outputs operate weekly for maintenance. The Digistat will automatically control room temperatures and hot water times.
- Page 3: Installer options include various settings for the device. The sensor fault function reduces central heating output to 30% during a fault. Power supply specifications are 230VAC +/-10%, 50Hz. Ambient temperature for the receiver operates between 0°C to 45°C. The installer settings lock feature requires a 3-digit code to unlock. Resetting the device will lose the pairing with the receiver. Service interval settings can be reset to factory settings. The service due date can be set for maintenance reminders. Energy class complies with relevant EC directives. The password reset option allows changing the 4-digit PIN for security.
- Page 4: Setting up times/temperatures on the Digistat The Drayton Digistat thermostat is a universal thermostat with various program types and can also be used as a simple room thermostat. With the product operating in Auto Mode, press once to select the day or set of days for adjustments. The time on the display will flash; use + and – to adjust the first period start time. Press and hold the cog button until User 01 appears to access advanced settings. Programmable thermostats offer temperature control both day and night, allowing you to select required temperatures at different times. In Pre-set Program 1, you will have 4 time periods available, with the option to add more. Your Digistat comes with pre-programmed settings suitable for typical 9-5 patterns. To exit, press to return to the home screen. Automatic to manual mode can be selected through the cog button and adjusting options. The Bluetooth word mark and logos are registered trademarks owned by Bluetooth SIG, Inc.