
Home > Drayton > Drayton RF902 Digistat 3rd Generation Wireless 2-Channel Programmable Thermostat Installation Guide
Drayton RF902 Digistat 3rd Generation Wireless 2-Channel Programmable Thermostat Installation Guide


Setting up Times/Temperatures on the Digistat
User Guide
The Drayton Digistat thermostat is a universal thermostat with 24
hour, 5-2day or 7day program types and up to 8 time/temperature
events per day and can also be used as a simple room thermostat.
1. With the product operating as normal in
Auto Mode, press once. Use + and –
to select the day or set of days you
want to adjust the times and
temperatures for. Press O to confirm.
Clock Setting
2. The time on the display will now be
f ashing as shown, use + and – to adjust
the first period start time. Press O to
confirm.
•
•
•
•
Press and hold the cog button until User 01 appears,
Press the plus button to Advanced 02, then press O to enter,
Press O to enter Time settings,
Using the + and - you can adjust the time, then pess O to
save,
3. Once the time has been set the
temperature on the display will now be
f ashing, use + and – to adjust the
temperature for the first time period.
Press O to confirm.
•
Press the cog button twice to bring you back to the home
screen.
General Operation
Programmable thermostats do not have “On” and “Off” times like
traditional timers. They offer temperature control both day and
night and you simply select which temperatures you require at
each point in the day.
4. Move to the next time and temperature
periods and adjust as needed,
confirming the changes by pressing O.
The new schedule will be saved
pressing O when the word SAvE is f
ashing.
With the unit in “Auto Mode” (the calendar icon is visible at the
bottom of the screen) the temperature can be changed for a short
time by using the + and – buttons. Changing the temperature in
this way will keep the Digistat set to your new temperature until
the next pre-programmed event (at which time it will revert to
programmed temperature). The temperature you are setting will
flash on the screen. Once temperature is set, the unit will revert to
showing the room temperature again. The indicator will show
on the screen if the unit is calling for heat.
5. In Pre-set Program 1 you will have 4
time periods available, to add more
(max. 8 per day) press + when you see
the SAVE option on-screen and time
period 5 at the bottom of the screen, to
scroll to the Add option. Press O to add
time period then adjust time and
temperature as required.
Programming the Digistat
Your Digistat comes with the following settings
pre-programmed for your convenience and is suitable for
those working out of the house during a typical 9-5 pattern. When
the 5-2day program type is selected the pre-set temperatures will
be different Mon-Fri and Sat-Sun, as per the tables below:
6. To exit press to go back until you
return to the home screen.
Pre-set Program 1 (24h, 5-2day weekdays, or 7day):
Heating or Hot Water
1.
Press the cog button so the tap or radiator symbol in the
bottom left-hand corner starts to flash,
Event
1
2
3
4
(5)*
(6)
(7)
(8)
Time
06:30 08:30 16:30 22:30
2.
Press the + button to change between the options, then press
O to select your option.
Temperature 20°C 16°C 21°C OFF
Automatic to Manual
1. Press and hold the Cog button until you see USEr 01,
2. Press the O button to select and you will see Mode,
3. Press O to enter and you will see either Auto, man or off.
4. Use the + and - button to choose between these options.
5. Press the O button to select your option then press the Cog
buton twice to take you to the home page.
Pre-set Program 1 (5-2day weekend):
Event
1
2
3
4
(5)*
(6)
(7)
(8)
Time
07:00 09:00 16:00 23:00
Temperature 20°C 18°C 21°C OFF
Where to find User Guide
User guide
*To add these additional time periods manually (max. 8 per day)
please refer to the steps to the right.
Please use the QR code to the right or go to our
our full online user guide which also features
Bluetooth pairing, and how to use the smartphone
app.
The Bluetooth® word mark and logos are registered trademarks
owned by Bluetooth SIG, Inc. and any use of such marks by
Schneider Electric is under license. Other trademarks and trade
names are those of their respective owners.
Hereby, Schneider Electric Controls UK Ltd, declares that
Digistat RF902 is in compliance with Directive 2014/53/EU.
The declaration of conformity may be consulted at
401 Southway Drive
Plymouth
Schneider Electric Industries SAS
35 rue Joseph Monier
F-92500 Rueil-Malmaison
France
PL6 6QT
United Kingdom

| General | Details |
|---|---|
| Name | Drayton RF902 Digistat 3rd Generation Wireless 2-Channel Programmable Thermostat Installation Guide |
| Make | Drayton |
| Language | English |
| Filetype | PDF (Download) |
| File size | 0.39 MB |
 (1 votes, average: 5.00 out of 5)
 Loading...

Drayton Wiser Smart Room Thermostat Instruction Manual

Drayton 2290M Digistat 3rd Generation Programmable Room Thermostat Installation Guide
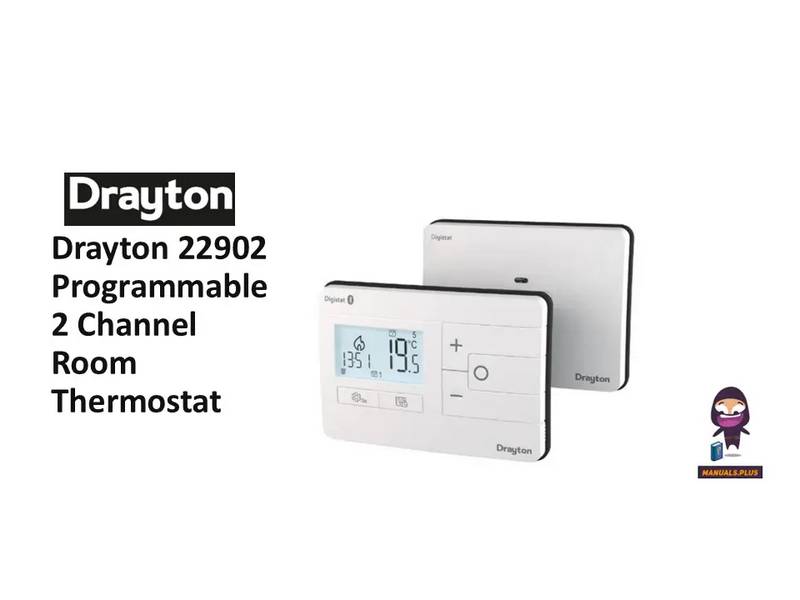
Drayton 22902 Programmable 2 Channel Room Thermostat Installation Guide

Drayton RF710 Digital Wireless Room Thermostat Installation Guide

Drayton 2290M Mains Digital Room Thermostat User Manual


Agatige MH1823 Intelligent Thermostat User Guide

SALUS Programmable Wired Thermostat VS30W/VS30B Installation Guide

Honeywell Home DT92E Wireless Room Thermostat User Manual

Beca BAC-006 Zigbee Thermostat User Guide

TFC Group WFSTAT Wi-Fi Thermostat Instructions

NEOMITIS RTE7OTA Wired Digital 7 Day Programmable Smart Room Thermostat Instruction Manual

HIHOME Smart Radiator Thermostat User Manual

Carrier Wi-Fi Enabled 24V Smart Thermostat Instruction Manual

Guangzhou XR-01 Central Air Conditioning Thermostat User Manual

GENERAL LIFE HT100S RF Wireless Room Thermostat User Manual