
Home > Drayton > Drayton RF902 Digistat 3rd Generation Wireless 2-Channel Programmable Thermostat Installation Guide
Drayton RF902 Digistat 3rd Generation Wireless 2-Channel Programmable Thermostat Installation Guide


INSTALLER OPTIONS
To make changes to the default Installer Options shown below,
enter the Installer Options menu by pressing the settings
button for 3 seconds. This allows access to the User Menu
01, the Advanced User Settings Menu 02, the Installer Settings
03, and Service Interval Settings 04. Use the + and - buttons to
scroll to Installer Options and press O to select. You can exit the
Note: Second channel can be
used for hot water or second
heating channel
(Fig 4
menu by pressing
until you have returned to the home
4. Pairing guide for the RF902
screen. In the Installer Options menu (Fig 7), scroll through the
options using the + and - buttons and press O to select. Scroll
through the different settings using the + and - buttons and
press O to select and save. (Fig 8shows Option 02 OFF).
1. Press and hold cog 3s button until you see USEr 01.
2. Press the plus button twice until you see InSt 03 an
press O button to select.
3. You will now see bEEP 01, press minus twice to rSEt 20
and press the O button to select.
4. no will be flashing, press plus button to see YEs is
flashing
DON'T PRESS ANYTHING ELSE
(Go to receiver)
(Fig 7)
(Fig 8
5. Press and hold the left button until the lights flash
orange and green, then release.
(Option 01) Partial Sight Assistant (beep)
When enabled, audible tones indicate when the setpoint is
more than, less than or equal to the current room temperature
when a user manually adjusts the setpoint using the + button:
Setpoint > room temperature - single high tone per 0.5°C
increase
(Go back to digistat)
6. Press the O selected button once to liven up screen and
align to select YEs.
7. SCAn will be displayed.
8. After a few seconds you will see a big CH appear on the
screen.
Setpoint = room temperature - double tone
Setpoint < room temperature - single low tone per 0.5°C
decrease
9. Press the plus button so you see dHW and CH, press O
and you will see PAIr rEC.
(Option 02) Frost Protection
All lights will go off on the receiver.
10.To test this has worked, press the plus button on your
digistat to call for heat,
The Digistat will switch on the heating if the temperature falls
to 5°C and maintains a temperature of 7°C even when
in OFF mode.
A green light will be visible on the receiver to indicate
the call for heat this means it's all working.
(Option 03) Minimum Setpoint Limit
Change minimum setpoint temperature. After any changes to
setpoint limits, all setpoints in AUTO, MANUAL, BOOST and
HOLIDAY modes will be modified to conform accordingly.
5. Two heating Zones
1. Pair the First Digistat up to step 8 from above.
2. Press the O button to see the big CH on the Digistat, just
press O. Do not press + to see dHW.
(Option 04) Maximum Setpoint Limit
Change maximum setpoint temperature. After any changes to
setpoint limits, all setpoints in AUTO, MANUAL, BOOST and
HOLIDAY modes will be modified to conform accordingly.
3. It will display SCAn, then PAIr rEc and your first Digistat
will be controlled on the right channel on the receiver.
4. Pair the second Digistat up to step 7 from above.
5. PAIr rEc will be displayed and your second Digistat will
be paired to the left channel on the receiver.
(Option 05) Optimum Start
When enabled, this uses current ambient temperature, the next
scheduled setpoint and heat gain data captured by the device to
adjust the thermostat setpoint early, so the ambient
temperature is at the required level when the next event starts.
Delayed Start
When enabled, this uses current ambient temperature, current
event setpoint and heating characteristics of the environment
to delay implementation of the setpoint if the ambient
temperature is already close to it, therefore saving energy.
(Option 06) Valve Protection Time
In some hydronic heating systems it may be required to protect
the valve by operating it for a given time. When enabled, this
maintenance feature ensures that each relay output is operated
for at least one (1) minute each week.
(Fig 5)
(Fig 6)
6. The Digistat is now installed and will automaticly start to
control room temperatures and hot water times.

| General | Details |
|---|---|
| Name | Drayton RF902 Digistat 3rd Generation Wireless 2-Channel Programmable Thermostat Installation Guide |
| Make | Drayton |
| Language | English |
| Filetype | PDF (Download) |
| File size | 0.39 MB |
 (1 votes, average: 5.00 out of 5)
 Loading...

Drayton Wiser Smart Room Thermostat Instruction Manual

Drayton 2290M Digistat 3rd Generation Programmable Room Thermostat Installation Guide
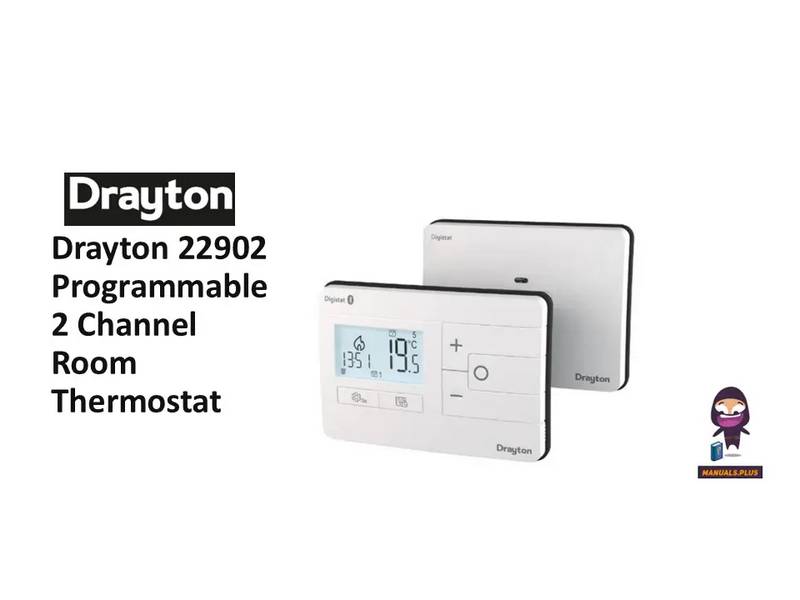
Drayton 22902 Programmable 2 Channel Room Thermostat Installation Guide

Drayton RF710 Digital Wireless Room Thermostat Installation Guide

Drayton 2290M Mains Digital Room Thermostat User Manual


Danfoss 088U0210 CF-RS Standard Room Thermostat Instruction Manual
Arcoaire TSTATIIEWF-01 Ion Gray Smart Thermostat Owner’s Manual

VIVE COMFORT TP-S-755 Cool Programmable Thermostat Instruction Manual

PowerOptimal Elon Smart Thermostat User Guide

ELECTECK 701 Non-Programmable Digital Thermostat for Home Instruction Manual

Wagner AL8010F Refrigeration or Heating Digital Thermostat User Manual

Zhongjin STN731RF Thermostat Instruction Manual

HYSEN HY518WE WIFI Digital Heating Thermostat User Manual

BEOK TDS23 Wi-Fi Thermostat User Manual

Shanghai Beok Controls TGR85 Smart Zigbee Underfloor Heating Thermostat User Guide