
Roth SL Car Air Conditioner Thermostat Instructions


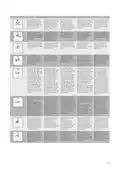


Roth Touchline® SL termostat, indbygning, 230V > Roth Touchline® SL thermostat, inbyggnad, 230V >
Roth Touchline SL termostat, innfelling, 230V > Roth Touchline® SL 230V huonetermostaatti >
Roth Touchline® SL In-wall thermostat, 230V
1
2
~ 1,6 M.
(DK) Termostaten skal installeres i en vægdåse. 55 x 55 mm rammer kan
bruges, eksempelvis fra ELKO, Schneider og Siemens.
(DK) Tilslut strøm (N,L) til termostatens terminal ”Power”. Fastgør termo-
statens sokkel i vægdåsen med 2 skruer.
(SE) Termostaten måste installeras i en väggdosa. 55 x 55 ram-system t.ex.
ELKO, Schneider och Siemens kan användas.
(SE) Anslut strömkablarna (N, L) till termostatens terminal ”Power”.
Fäst termostatens bakplatta i väggdosan med 2 skruvar.
(NO) Termostaten må installeres i veggboks. 55 x 55 rammesystem, f.eks
ELKO, Schneider og Siemens kan brukes.
(NO) Koble strømkabelen (N, L) til termostatens terminal ”Power”.
Fest termostatbakplaten i veggboksen med 2 skruer.
(FI) Termostaatti tulee asentaa kojerasiaan. Käytä esim. ELKOn,
Schneiderin tai Siemensin 55 x 55 mm kehystä.
(FI) Yhdistä virtajohto (N, L) termostaattimen liittimeen ”Power”. Kiinnitä
termostaatin takalevy kojerasiaan käyttämällä kahta ruuvia.
(UK) The thermostat must be installed in a wall box. 55 x 55 frame systems
e.g., ELKO, Schneider and Siemens can be used.
(UK) Connect the power cable (N, L) to the thermostat’s terminal “Power”.
Fasten thermostat backplate in the wall box using 2 screws.
3
4
230V
~
N
L
!
Click
POWER
Click
100 cm
(DK) Det er muligt at tilslutte en gulvføler til termostaten (gulvføler ikke
inkl.). Tilslut gulvføleren til terminalen ”Floor sensor”.
(DK) Sørg for, at alle dele er centreret, og klik forsigtigt termostaten på plads,
undgå at beskadige stikket. I næste trin bliver termostaten registreret til kon-
trolenheden. Kommunikationen til kontrolenheden er trådløs.
Føleren skal trækkes i trækrør og følerenden placeres lige under øverste
gulvbelægning, midt imellem gulvvarmeslangerne.
(SE) Se till att alla delar är i linje och klicka försiktigt in termostaten i uttaget
för att förhindra att några kontaktpinnar böjs. I nästa steg registreras termosta-
ten till kontrollenheten. Kommunikationen med kontrollenheten är trådlös.
(SE) Möjligt att ansluta golvgivare till termostaten (golvgivare ej inkl.).
Anslut golvgivaren till terminalen ”Floor sensor”.
Givaren ska placeras i ett skyddsrör och änden på givaren ska placeras
direkt under den översta golvbeläggningen, i mitten mellan golvvärmerören.
(NO) Pass på at alle deler er på linje, og trykk forsiktig termostaten inn i bak-
platen for å forhindre at kontaktstiſtene bøyes. I neste trinn skal termostaten
tilmeldes kontrollenheten. Kommunikasjon til kontrollenheten er trådløs.
(NO) Det er mulig å koble en gulvføler til termostaten (gulvføler ikke inkl.).
Gulvføleren kobles til terminalen ”Floor sensor”.
Gulvføleren skal trekkes i k-rør/trekkerør og følerenden plasseres rett under
øverste gulvsjikt, midt i mellom gulvvarmerørene.
(FI) Varmista, että kaikki osat ovat linjassa ja kiinnitä termostaatti varovasti
kojerasiaan. Seuraavassa askeleessa yhdistät termostaatin kytkentälaatikkoon.
Kytkentälaatikon ja termostaatin välillä on langaton yhteys.
(FI) Termostaattiin on mahdollista liittää lattia-anturi (lattia-anturi ei
sisälly toimitukseen). Yhdistä lattia-anturi ”Floor sensor” liittimeen. Anturi
on asennettava suojaputkeen ja anturin pää on sijoitettava mahdollisimman
pinnalle kahden putken väliin.
(UK) Make sure all parts are aligned, and carefully click the thermostat into the
socket to prevent bending of any connector pins. In the next step the thermo-
stat is registered to the controller. Communication to controller is wireless.
(UK) It is possible to connect a floor sensor to the thermostat (floor sensor
not incl.). Connect floor sensor to the terminal ”Floor sensor”.
The sensor must be drawn in a tube and the tip placed directly beneath the
top floor cover, in the middle between the floorheating pipes.

| General | Details |
|---|---|
| Name | Roth SL Car Air Conditioner Thermostat Instructions |
| Make | Roth |
| Language | English |
| Filetype | PDF (Download) |
| File size | 0.47 MB |
 (1 votes, average: 5.00 out of 5)
 Loading...

Roth Basicline 230T Programmable Clock Thermostat Instruction Manual

Roth Basicline H 230V Room Thermostat Instructions

Roth Minishunt Room Thermostat Installation Guide

Roth Touchline SL Standard Room Thermostat Installation Guide

Roth Minishunt Plus Wireless Room Thermostat Installation Guide

Roth VVS-nr. 466397.058 Softline Standard Room Thermostat Instruction Manual

Roth Minishunt Plus Thermostat and Capillary Sensor Installation Guide

Roth Touchline PL Wireless Room Thermostat Installation Guide

Roth Touchline SL Plus Room Thermostat Instruction Manual
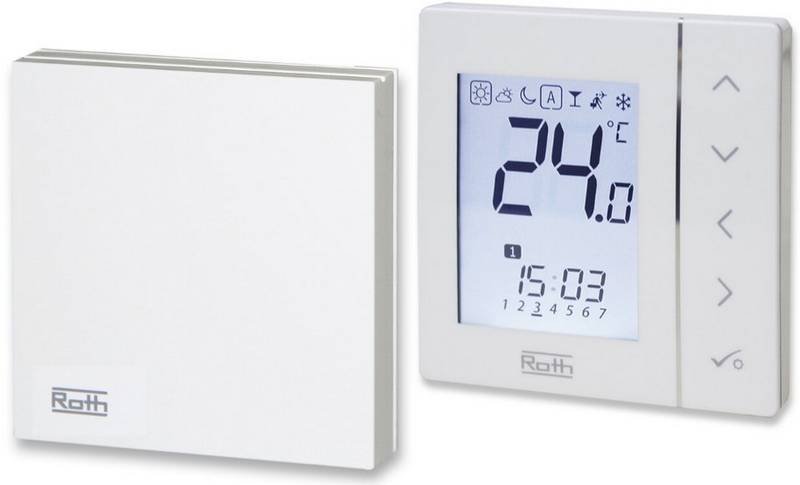
Roth Basicline Wired Thermostat Installation Guide


ENGO CONTROLS EFAN-24W Fan Coil Thermostat User Guide

SITERWELL GS368 Smart Programmable Thermostat User Manual

Honeywell Non-Programmable Digital Thermostat User Guide

Klima SF300 Digital Thermostat Instruction Manual

Quality Heating PRF-80 Touch Thermostat Instructions

nVent RAYCHEM AT-TS-13 Surface Sensing Thermostat Instruction Manual

Honeywell Home FocusPRO Smart S200 Series Smart Thermostat User Guide

sinope Smart Floor Heating Thermostat TH1310WF Installation Guide

GENERAL LIFE 270 Wireless Room Thermostat User Manual

GENERAL Life MITRA 250S RF Wireless Room Thermostat User Guide