Roth Minishunt Room Thermostat Installation Guide


Roth trådløs rumtermostat til Minishunt > Roth rumstermostat >
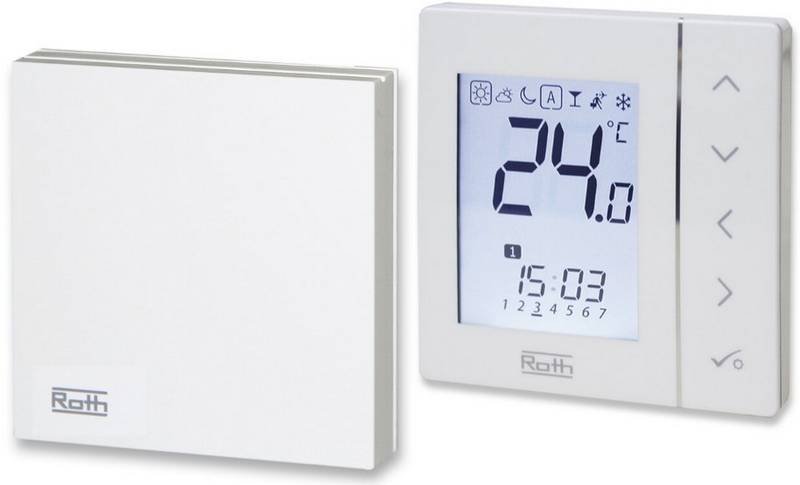
Roth romtermostat, Minishunt > Roth Minishunt termostaatti > Roth room thermostat
1
~ 1,6 M.
2
(DK) Adskil rumtermostaten fra soklen.
(SE) Ta bort skruven och avlägsna termostatdelen.
(NO) Løsne skruene og skyv av underdelen.
(FI) Irrota ruuvi ja liu’uta termostaatin takalevy irti.
(UK) Remove screw and slide backplate o.
(DK) Indsæt batterierne, vær opmærksom på +/- polerne.
3
(SE) Sätt i batterierna (inkluderade). Kontrollera +/- poler.
(NO) Sett inn batteriene (inkl.). Sjekk +/- polene.
(FI) Aseta paristot (sisältyvät) ja huomioi +/- navat.
(UK) Insert batteries (included), be aware of +/- polarity.
(DK) Monter soklen på væggen og påsæt rumtermostaten.
4
(SE) Montera underdelen (skruvar ej inkl.). Återmontera termostatdelen.
(NO) Skru fast underdelen (skruer ikke inkl.) og skyv på termostaten.
(FI) Asenna takalevy seinälle (ruuvit eivät sis. toim.) ja liu’uta
termostaatti paikoilleen.
(UK) Mount backplate on the wall (screws not incl.) thermostat slides
onto back plate.
2/6
| General | Details |
|---|---|
| Name | Roth Minishunt Room Thermostat Installation Guide |
| Make | Roth |
| Language | English |
| Filetype | PDF (Download) |
| File size | 0.2 MB |


Roth Basicline 230T Programmable Clock Thermostat Instruction Manual

Roth Basicline H 230V Room Thermostat Instructions

Roth Touchline SL Standard Room Thermostat Installation Guide

Roth Minishunt Plus Wireless Room Thermostat Installation Guide

Roth VVS-nr. 466397.058 Softline Standard Room Thermostat Instruction Manual

Roth SL Car Air Conditioner Thermostat Instructions

Roth Minishunt Plus Thermostat and Capillary Sensor Installation Guide

Roth Touchline SL Plus Room Thermostat Instruction Manual
Roth Basicline Wired Thermostat Installation Guide

Roth Touchline PL Wireless Room Thermostat Installation Guide

Roth Minishunt Room Thermostat Installation Guide Overview
Summary of Contents
- Page 1: Roth trådløs rumtermostat til Minishunt Adskil rumtermostaten fra soklen. Ta bort skruven och avlägsna termostatdelen. Løsne skruene og skyv av underdelen. Irrota ruuvi ja liu’uta termostaatin takalevy irti. Remove screw and slide backplate off. Indsæt batterierne, vær opmærksom på +/- polerne. Sätt i batterierna (inkluderade). Kontrollera +/- poler. Monter soklen på væggen og påsæt rumtermostaten. Mount backplate on the wall (screws not incl.) thermostat slides onto back plate.
- Page 2: Pairing/registering the thermostat. All connections must be made to the Controller (pump, actuator) before start-up. Press the registration button on the left side of the control unit and then press the registration button on the room thermostat. The temperature is now shown in the display. Do not press the buttons on the front of the thermostat whilst pushing the pairing button on the rear. The thermostat is now registered. The display shows the current temperature. In the event of a power failure, the connection between the room thermostat and the receiver is restored within 5-10 minutes.
- Page 3: Operation of thermostat. In order to enter MENU press and hold the button. Use buttons to navigate between MENU settings. How to lock the buttons. Enables you to lock the buttons. Select “Yes” by using one of the buttons. The lock is active after 10 seconds of inactivity. To unlock, press and hold the buttons for 10 seconds. You can reset the thermostat to factory settings. Select “dEF” and the display flashes and shows the selected value. Enables you to view the sensor calibration value.
- Page 4: Page 4

Honeywell Home T822 Series Heat Thermostat Owner’s Manual

Honeywell CM721 Programmable Room Thermostat User Guide

ADAX 62208 WiFi Thermostat User Guide

beca BAC-2000-ML Modulating Touch Button Thermostats User Guide

WATTS BT-A03 RF Electronic Room Thermostat Installation Guide

Danfoss RET Series Electronic Thermostat Instruction Manual

Danfoss DEVIreg 330 Electronic Thermostat Installation Guide

NEOMITIS RTE7OTA Wired Digital 7 Day Programmable Smart Room Thermostat Instruction Manual

HIVE HAH2INSTAMZ-01 Active Heating Thermostat User Guide

Honeywell RTH9600WF Touchscreen Programmable Thermostat User Guide