
PECO T8168B-2 BACnet Proportional Thermostat Installation Guide


520
Default Display Icons
0- Time, Temp, SP (Default)
1- Time, Temp
Icons that will be displayed in the default state.
NOTE: Setpoint will not be displayed if T8168 System Mode is OFF.
2- Time
3- Temp
4- None
5 - Set Point Only
530
540
Revision
Displays Current Revision Information
0- Disable (Default)
Factory Default Reset
When enable is selected the device will return to factory default settings.
Unit enters AP Mode and broadcasts SSID “T8168 XXXXX”
1- Enable
550
600
Wi-Fi Reset
Set to 1
Cooling System Output
Test
0- Disable (Default)
Cool Operation is enabled and the associated output based on Service Menu 110. The
output is activated for 10 minutes. The ON/OFF or 0-10 VDC Fan output will automatically
turn on.
1- Stage 1 Cooling/Y1 (TWF)
2 – Stage 2 Cooling/Y2 (TWF)
0- Disable (Default)
610
620
Heating System Output
Test
Heat Operation is enabled and the associated output based on Service Menu 110. The
output is activated for 10 minutes. The ON/OFF or 0-10 VDC Fan output will automatically
turn on.
1- Stage 1 Heating/W1 (TWF)
2 – Stage 2 Heating/W2 (TWF)
0- Disable (Default)
Fan System Output Test
If enabled is selected it will activate Based On Service Menu 110. The output will be
enabled for 10 minutes. If a different menu is selected the output will be disabled. Wheth-
er the fan output is a triac or a 0-10VDC/4-20mA is determined by Service Menu 112
1- Enable G Fan Output/GD Low
2 – Enable Y2 Fan Output/GD Med Cool
3 - Enable G1 Fan Output/GD Hi Cool
4 – Enable GD Med Heat
5 – Enable GD High Heat
TROUBLESHOOTING & FREQUENTLY ASKED QUESTIONS
In case of difficulty, try one of the following suggestions below.
Symptom
Potential Cause(s)
Solution
If display screen is blank
• Thermostat is not being powered
• Check to assure proper wiring of power to (24 VAC-1) and (24 VAC-2) .
• Check power to verify that there is 24 VAC available.
• Default Display is set to “4” (None)
• Keypad Lockout may be enabled
• Check Service Menu 520.
If keys do not allow manual entry
Service Menu does not display
• Access Service Menu 340. Within this menu, select option “0” to assure
there is no keypad lockout (so manual entry is enabled).
• PIN access is enabled
• Access requires the three digit code set by the installer.
•
B
u
t
t
o
n
s
w
e
r
e
n
o
t
p
r
e
s
s
e
d
s
i
m
u
l
t
a
n
e
o
u
s
l
y
• Wait for unit to return to default display and retry.
Err In Clock Dispay
Door in Clock Display
Fdd in Clock Display
• Indicates a service fault input
• Indicates service is required.
• Door or window is open
• Close door and /or window to clear fault.
• Indicates service is required.
• Indicate an economizer or other system fault
If no heating or cooling is running, but there is a call
for heat or cool (Heat/Cool appears on display) in
Auto mode
• Heating or cooling equipment is not operating
• Minimum off time has not been met
• Check Service Menu 110 to assure that the correct option is selected to
match the system type.
• Check wiring, using output tests to verify (see Service Menus 600, 610,
620).
I
f
h
e
a
t
i
n
g
o
r
c
o
o
l
i
n
g
s
y
s
t
e
m
d
o
e
s
n
’
t
r
e
s
p
o
n
d
• System type selection is incorrect
• System type selection is incorrect
• Check Service Menus 110 and 120 to assure that the correct option is
selected to match the system type.
If heating and cooling equipment are running at the
same time
• Check Service Menu 110 to assure that the correct option to match the
system type is selected.
• Verify wiring connections
• Separate the heating and cooling wires, using output tests to verify (see
Service Menus 600, 610, 620).
If Demand Indicator light is red
• Heating is occurring
• No action is required.
If Demand Indicator light is green
Fan outputs turned off after 3-minutes
• Cooling system is running
• No action is required.
• Pipe sensor is connected and water
• Building Boiler or Chillers may be turned off.
temperarture between hot water and cold water • See Service Menus 171, 172, 173 & 174
set points
Menu Item Not available
• Some service menus are disabled when not in
use or feature is not available.
• Verify system type selection and feature selection is correct.
Red LED is Flashing and code is in clock location
• Fault is present on SC and S1 input
• Check SM175 for code
• If using a remote sensor, verify probe wiring.
© COPYRIGHT 2024 PECO, INC. ALL RIGHTS RESERVED.
P/N 74599 3220-2406 REV 00
7

| General | Details |
|---|---|
| Name | PECO T8168B-2 BACnet Proportional Thermostat Installation Guide |
| Make | PECO |
| Language | English |
| Filetype | PDF (Download) |
| File size | 0.42 MB |
 (1 votes, average: 5.00 out of 5)
 Loading...

PECO T8168 Performance Pro Thermostat Installation Guide

PECO T372P Thermostat Instruction Manual

PECO TW180 Thermostat Instruction Manual


TFC Group OP-WFSTAT Wi-Fi Programmable Thermostat User Guide

MYSON Unisenza Plus Thermostat Instruction Manual

Danfoss Eco Electronic Radiator Thermostat Instruction Manual

GENERAL FH10, FH10S Underfloor Heating Thermostat User Manual

vtech T961NN50 E-Smart Thermostat Installation Guide

WarmlyYours 670078B Wifi LED Touch Thermostat User Manual

SALUS RT520 Radiator Thermostat User Guide

Homematic IP BMOAONSUT Radiator Thermostat User Manual

Danfoss 014G2420 Ally Radiator Thermostat User Guide
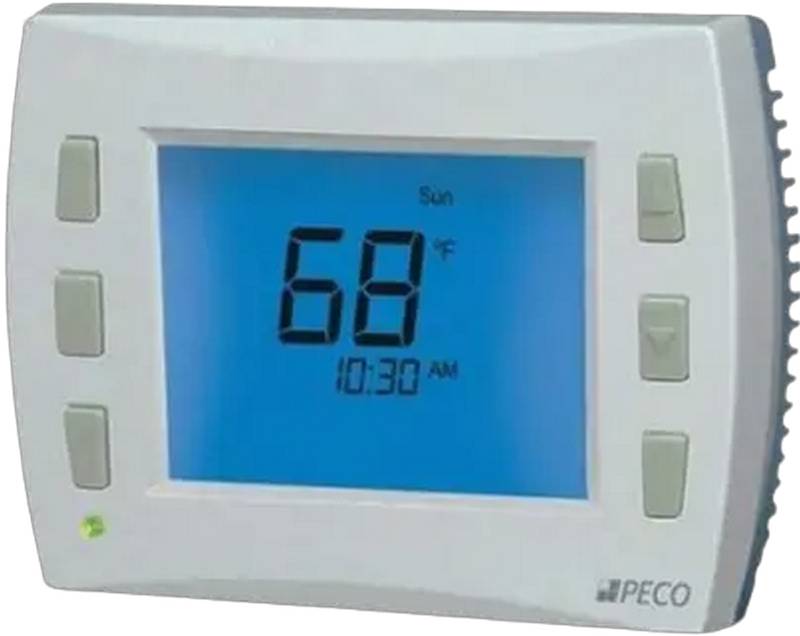
PECO CONTROL SYSTEMS T8168B-2 BACnet IP Connection Thermostat Instructions