DAIKIN IM 1366 Remote Integrated Thermostat Instruction Manual


but it will not provide any heating, cooling, or dehumidification.
Press the OK button to confirm mode selection.
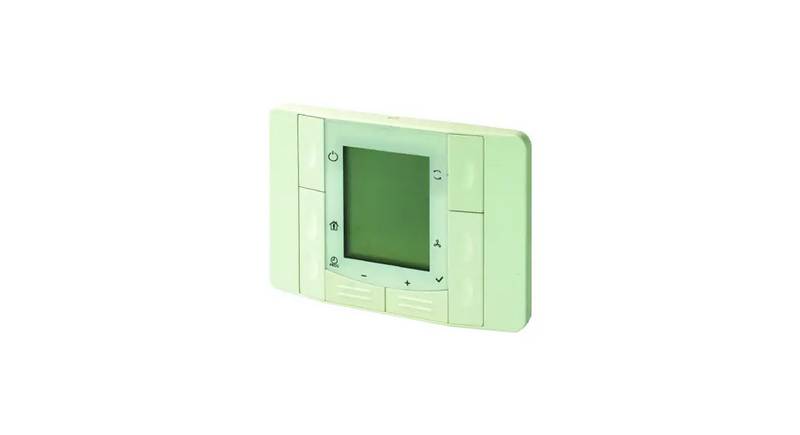
Occupancy Indicator
When the Effective Occupancy is set to OCCUPED or
BYPASS, then the Comfort Mode Active icon (Area 8) will
display.
NOTE: If the OK button is not pressed within 10 seconds of
the last press of the MODE button, the change will be
discarded and mode selection state will be exited.
When the Effective Occupancy is set to STANDBY or
UNOCCUPED, then the Economy Mode Active icon (Area 7)
will display.
Mode Indicators
NOTE: See Figure 4 to view display references.
ON/OFF (Area 5)
Fan Status & Speed Indicators
This icon is ON solid when the remote sensor On/Off
parameter is set to ON and the unit is running. The icon will
blink if the the remote sensor On/Off parameter is OFF and
the unit is not running.
NOTE: See Figure 4 to view display references.
The status bar in Area 3 indicates fan speed. Fan speed can
be adjusted only on units configured for constant air volume
control.
COOL (Area 9)
This icon is active only when the unit is in cooling, economizer,
economizer and cooling, or dehumidification modes.
• A single bar indicates the Supply Fan Minimum Speed
value.
DRY (Area 11)
This icon is active only when the unit is in dehumidification
mode.
• Each added bar represents an increase in supply fan
speed value. The value is calculated as:
Supply Fan Maximum Speed - Supply Fan Minimum
Speed / 5.
HEAT (Area 10)
This icon is active only when the unit is in heat mode.
• Six bars indicates the Supply Fan Maximum Speed value.
Pressing the FAN button will cause the fan bars to start
blinking, indicating that the user is allowed to adjust the fan
speed. Each FAN button press will then cycle through the fan
speed values.
RECIRC (12)
This icon is active only when the unit is in fan only mode.
AUTO (Area 6)
This icon is active only when the unit is in auto mode.
Press the OK button to confirm fan speed selection.
NOTE: If the OK button is not pressed within 10 seconds of
the last press of the FAN button, the change will be
discarded and fan speed state will be exited.
View and Clear Alarms
NOTE: See Figure 4 to view display references.
When there is an active alarm, the alarm icon (Area 16) will
blink every second.
System Mode Selection
The MODE button allows the user to select Auto, Cool, Heat,
or Fan Only modes of operation.
To view the alarm state, follow these steps:
1. Press the OK button for more than 5 seconds.
NOTE: See Figure 4 to view display references.
NOTE: The PROG button can be used to cancel/exit the
alarm state at any time.
• Auto mode is indicated by the Auto icon (Area 6)
• Cool mode is indicated by the Cool icon (Area 9)
• Heat mode is indicated by the Heat icon (Area 10)
2. "ALM" will display in Area 1. Area 2 will display the
number for the highest current active alarm.
NOTE: Refer to the unit operation manual for specific
• Fan Only mode is indicated by the Fan Recirc icon (Area
12)
information on the various alarms.
3. To clear the alarm, press the OK button. Area 1 will
display as "CLR" and Area 2 will display as "No". Press
the plus (+) or minus (-) buttons to cycle Area 2 between
"No" and "Yes". Press the OK button when "Yes" is
displayed, and the screen will return to the Alarm View
state.
Pressing the MODE button will initiate the mode adjustment
state and cause the current mode selection icon to start
blinking. Subsequent presses of the MODE button will cycle
between the different mode options.
Auto Mode
The unit switches automatically to provide heating, cooling, or
dehumidification.
NOTE: If the alarm conditions persist, the unit will
immediately go back into the alarm state.
Cool Mode
NOTE: If the PROG button is pressed or if no operation is
performed for 30 seconds, the device will exit the
Alarm View state.
The unit will only provide cooling and dehumidification.
Heat Mode
The unit will only provide heating.
Fan Only Mode
The unit will operate the fan at the selected fan speed setting,
5
IM 1366
| General | Details |
|---|---|
| Name | DAIKIN IM 1366 Remote Integrated Thermostat Instruction Manual |
| Make | Daikin |
| Language | English |
| Filetype | PDF (Download) |
| File size | 0.28 MB |

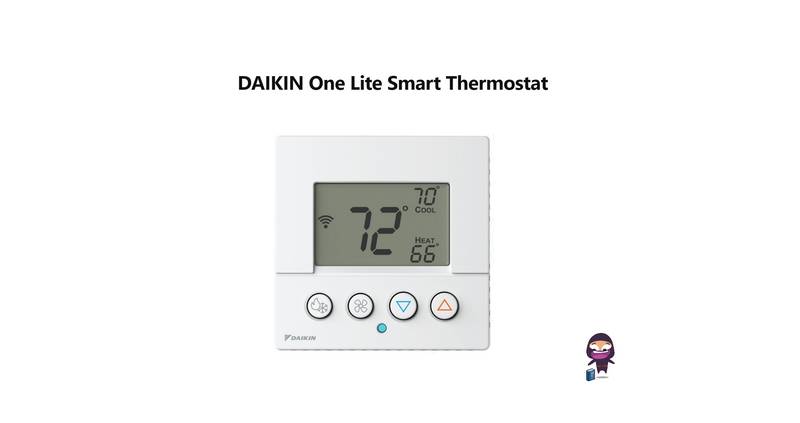
DAIKIN One Lite Smart Thermostat User Guide

Daikin One Lite Smart Thermostat Instruction Manual

DAIKIN DTST-ONE-ADA-A One Touch Smart Thermostat Installation Guide

DAIKIN IM 1368 Vertical Stack WSHP Thermostat Instruction Manual
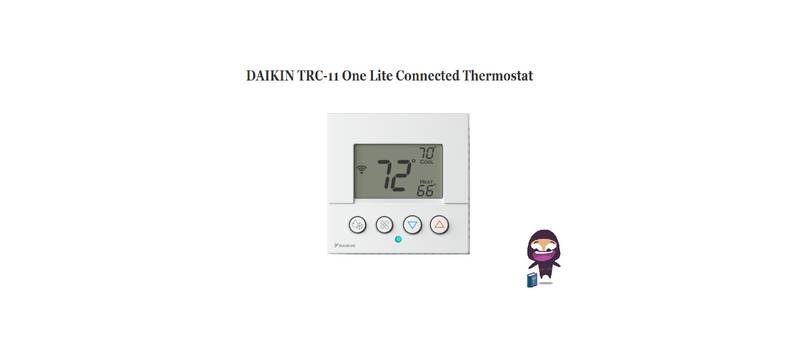
DAIKIN TRC-11 One Lite Connected Thermostat Instruction Manual
DAIKIN ONE Smart Thermostat Instructions

DAIKIN DKN509 Wireless Communicating Thermostat Instruction Manual
DAIKIN SQNSQ22 One Touch Smart Thermostat User Manual

EMSQ22 Daikin ONE Lite Smart Thermostat User Manual

DAIKIN S21 One Lite Smart Thermostat User Guide

Aprilaire S86N MUPR Multi Stage Universal Thermostat Owner’s Manual

BEOK TDS23 Wifi Thermostat Owner’s Manual

SALUS HTRP230(50) Wired Programmable Digital Thermostat User Manual

BECA BHP-8000 Room Thermostat User Manual

Honeywell 69-2384ES-01 RTH111 Non Programmable Thermostat Installation Guide

Fantini Cosmi CH121E Flush Mounting Thermostat User Manual

Sygonix 2735095 Wireless Indoor Thermostat Instruction Manual

JUNG RTR230 230V Room Thermostat User Manual

Danfoss RT 115 Thermostat Installation Guide

nVent RAYCHEM RayStat-M2 Thermostat Instruction Manual