
DAIKIN SQNSQ22 One Touch Smart Thermostat User Manual


DAIKIN ONE TOUCH
SMART THERMOSTAT
Homeowner Guide


| General | Details |
|---|---|
| Name | DAIKIN SQNSQ22 One Touch Smart Thermostat User Manual |
| Make | Daikin |
| Language | English |
| Filetype | PDF (Download) |
| File size | 0.42 MB |
 (1 votes, average: 5.00 out of 5)
 Loading...
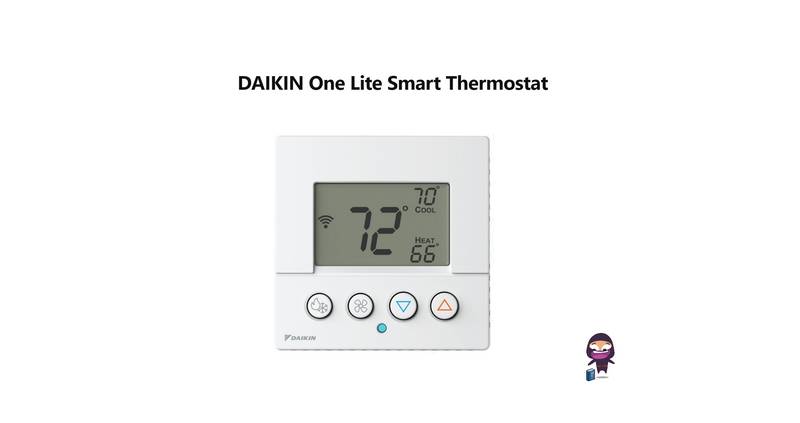
DAIKIN One Lite Smart Thermostat User Guide

Daikin One Lite Smart Thermostat Instruction Manual

DAIKIN DTST-ONE-ADA-A One Touch Smart Thermostat Installation Guide

DAIKIN IM 1368 Vertical Stack WSHP Thermostat Instruction Manual
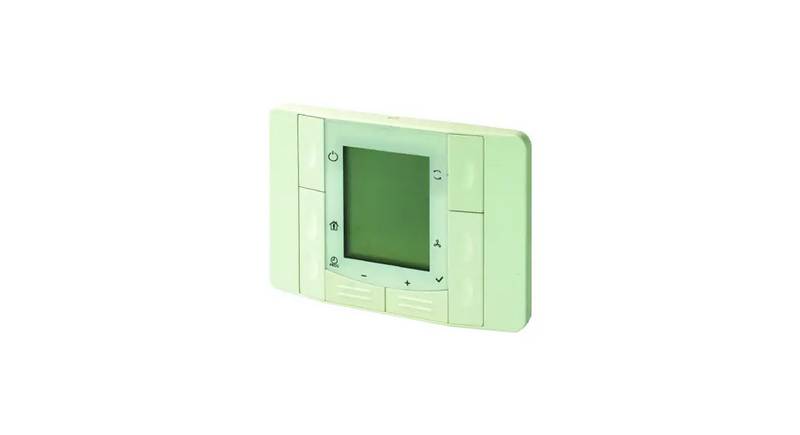
DAIKIN IM 1366 Remote Integrated Thermostat Instruction Manual
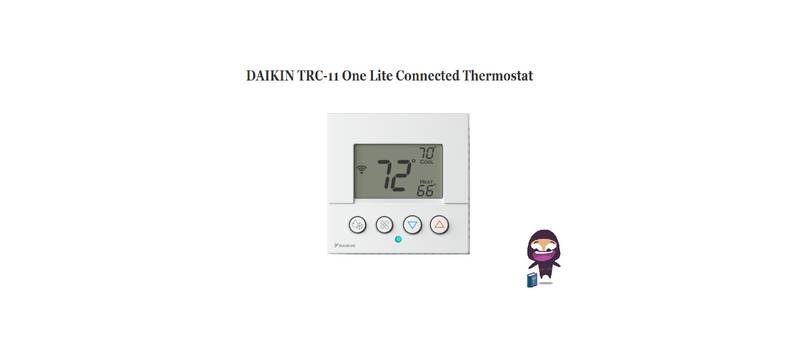
DAIKIN TRC-11 One Lite Connected Thermostat Instruction Manual
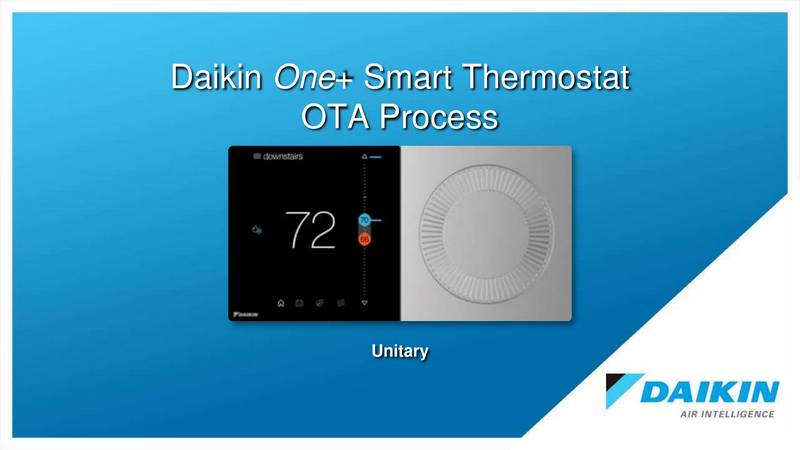
DAIKIN ONE Smart Thermostat Instructions

DAIKIN DKN509 Wireless Communicating Thermostat Instruction Manual
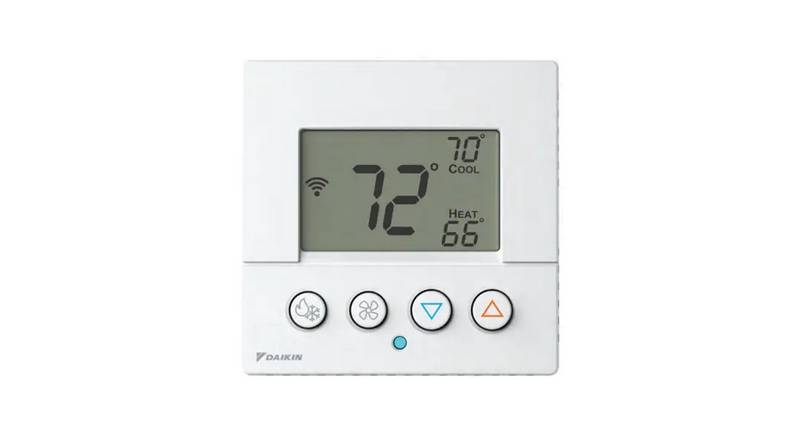
EMSQ22 Daikin ONE Lite Smart Thermostat User Manual

DAIKIN S21 One Lite Smart Thermostat User Guide
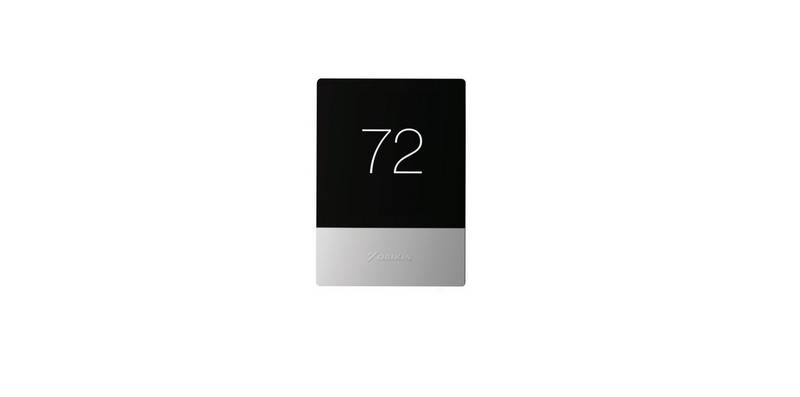
Daikin SQNSQ22 One Manual: Questions and Answers
Can I create separate schedules for heating and cooling on the Daikin SQNSQ22?
Yes. With both heating and cooling available, you can create individual schedules for Heat (only), Cool (only), and Auto mode. User Manual, p. 7
Where is the language setting on the Daikin SQNSQ22 One?
Tap the menu item in the top left, go to settings, then navigate to display > language to choose Spanish, French, or another language. User Manual, p. 10
How do I enable large font on the Daikin SQNSQ22 One?
Tap the menu item in the top left, select settings, navigate to display settings, then enable the use large font checkbox. User Manual, p. 10
What's the first step to connect a thermostat to WiFi?
Navigate to the settings menu by tapping the menu icon in the top left of the home screen, then select Settings.
- Tap the menu icon in the top left of the home screen.
- Select Settings.
- Tap Settings > WiFi.
- Ensure the use WiFi box is checked.
- Tap networks and select your network from the list.
- Enter your network password when prompted. User Manual, p. 4
Where is the WiFi setting on the Daikin SQNSQ22?
In the settings menu under WiFi. Access it by tapping the menu icon in the top left, then Settings. User Manual, p. 2
More Daikin thermostat manuals

GENERAL HT220S Digital Room Thermostat User Manual

EPH CONTROLS RFCA RF Cylinder Thermostat Instruction Manual

BEOK TGT79 Touch Screen Thermostat User Manual

Google Cloud G953-02161-03-A Nest Learning Thermostat Instruction Manual

SCHRACK TECHNIK EV103311 Analog Thermostat User Manual

amazon basics B07W85DJQV 3 Heat ECO Setting 2 Fans Speed Thermostat Instruction Manual

elko One Matter Thermostat Owner’s Manual

GENERAL HT250S Digital Room Thermostat User Manual

JUNG RTR230 230V Room Thermostat User Manual

sinope TH1400NP Non Programmable Low Voltage Thermostat Installation Guide