
DAIKIN IM 1366 Remote Integrated Thermostat Instruction Manual


10. The device will then prompt the user to select the
Unoccupied Cooling setpoint, indicated by "UHSP" in
Area 2. Pressing the plus (+) or minus (-) buttons will
increment and decrement the Unoccupied Heating
Setpoint value. Pressing OK will confirm the setting.
7-Day Schedule Setup
NOTE: See Figure 1 and Figure 4 to view display references.
The user can exit the 7-Day Schedule Setup at any
time by pressing the PROG button.
1. Hold the PROG button for more than 10 seconds to
enter the Occupancy Scheduler State. The Service Mode
(Area 17) and Present Mode (Area 12) icon will be active
when in Occupancy Scheduler State.
NOTE: The device will exit 7-Day Schedule Setup
automatically if no operation was performed for 60
seconds. All changes made without pressing the OK
button will not be saved.
NOTE: In the Occupancy Scheduler, the PROG button is
used to cancel. Pressing the OK button will confirm.
Date and Time
NOTE: See Figure 4 to view display references.
2. Pressing the plus (+) or minus (-) will cycle through the
days of the week. The number of the corresponding day
will blink on screen (ex. 11Monday...71Sunday). When
the cursor moves onto one weekday, pressing OK button
will select this number or deselect it
Press the PROG button to enter time and date settings. The
Service Mode icon (Area 17) will be active when in the time
and date setting.
Pressing the plus (+) or minus (-) buttons will cycle the
variables that are blinking on the screen. Pressing OK button
will confirm each variable's changes, and then the cursor will
move to the next variable automatically.
3. When one weekday is selected, the day will be displayed
on screen constantly. It is possible to select more than
one weekday at a time. To confirm your selections,
use the plus (+) button to cycle past day 7 (or minus
(-) button to cycle before day 1). This will cause all
selections to display on the screen with blinking
The first variable is time setting. The user can change 3 items:
hour, minute, time format, and then calendar.
indicators. Press the OK button to confirm their selection.
1. Press the plus (+) or minus (-) buttons to cycle the hour
Area. Confirm the selection by pressing the OK button.
4. Pressing the plus (+) or minus (-) will jump to a view with
OCC in the first line and "--:--" in the second line. The
first line indicates that the occupied time is being set; the
second line is the time setting.
2. Press the plus (+) or minus (-) buttons to cycle the
minute Area. Confirm the selection by pressing the OK
button.
5. Press the plus (+) or minus (-) buttons to cycle through
the occupied time options and press OK to confirm the
input.
3. Press the plus (+) or minus (-) buttons to cycle the time
format Area (12-hour AM/PM or 24-hour). Confirm the
selection by pressing the OK button.
NOTE: Pressing OK when the cursor has no time number
selected (ex. "--") will cancel time setting and the
display will return to viewing the current time.
4. Press the plus (+) or minus (-) buttons to cycle the date.
Confirm the selection by pressing the OK button.
5. Press the plus (+) or minus (-) buttons to cycle the
6. The device will then prompt the user to select the
Occupied Cooling Setpoint, indicated by "OCSP" in
Area 2. Pressing the plus (+) or minus (-) buttons will
increment and decrement the Occupied Cooling Setpoint
value. Pressing OK will confirm the setting.
month. Confirm the selection by pressing the OK button.
6. Press the plus (+) or minus (-) buttons to cycle the year.
Confirm the selection by pressing the OK button. The
device will then leave the time and date setting.
NOTE: If there is not any operation for 30 seconds while
editing any of the parameters, then the device will exit
the time and date setting.
7. The device will then prompt the user to select the
Occupied Heating Setpoint, indicated by "OHSP" in
Area 2. Pressing the plus (+) or minus (-) buttons will
increment and decrement the Occupied Heating Setpoint
value. Pressing OK will confirm the setting.
Alarm Reset
8. The device will then prompt the user to select the
unoccupied time, indicated by "UNO" displaying in Area
1 and "--:--" in Area 2. Press the plus (+) or minus (-)
buttons to cycle the unoccupied time options. Press OK
to confirm the setting.
Pressing and holding the Presence and Mode buttons for at
least 3 seconds but less than 10 seconds will will clear the
active alarm. The display will then go back to the Alarm View
state.
NOTE: If the alarm condition(s) still persist, the unit will
immediately go back into the alarm state.
NOTE: Pressing OK when the cursor has no time number
selected (ex. "--") will cancel time setting and the
display will return to viewing the current time.
Tenant Override
9. The device will then prompt the user to select the
Unoccupied Cooling setpoint, indicated by "UCSP" in
Area 2. Pressing the plus (+) or minus (-) buttons will
increment and decrement the Unoccupied Cooling
Setpoint value. Pressing OK will confirm the setting.
Pressing the Presence and Mode buttons for less than 1
second will cause the unit to enter the Tenant Override mode,
providing a temporary occupied state for the duration of the
bypass timer (default of 120 minutes).
IM 1366
6

| General | Details |
|---|---|
| Name | DAIKIN IM 1366 Remote Integrated Thermostat Instruction Manual |
| Make | Daikin |
| Language | English |
| Filetype | PDF (Download) |
| File size | 0.28 MB |
 (1 votes, average: 5.00 out of 5)
 Loading...
DAIKIN One Lite Smart Thermostat User Guide

Daikin One Lite Smart Thermostat Instruction Manual

DAIKIN DTST-ONE-ADA-A One Touch Smart Thermostat Installation Guide

DAIKIN IM 1368 Vertical Stack WSHP Thermostat Instruction Manual
DAIKIN TRC-11 One Lite Connected Thermostat Instruction Manual
DAIKIN ONE Smart Thermostat Instructions

DAIKIN DKN509 Wireless Communicating Thermostat Instruction Manual
DAIKIN SQNSQ22 One Touch Smart Thermostat User Manual
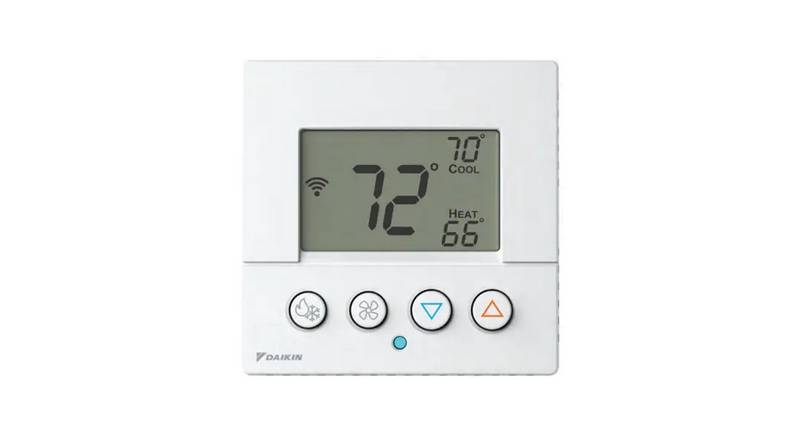
EMSQ22 Daikin ONE Lite Smart Thermostat User Manual

DAIKIN S21 One Lite Smart Thermostat User Guide

SECURE ThermoPlus PRT1 Programmable Room Thermostat Instruction Manual

Danfoss GreenCon RC-T2/T4 Room Thermostat Installation Guide

WHITE RODGERS 1F80-51 Programmable Electronic Digital Thermostat Instruction Manual

thermokon JOY SR 5DO Electronic Fancoil Thermostat User Guide

Micro Air ETRV EasyTouch RV Thermostat Instruction Manual
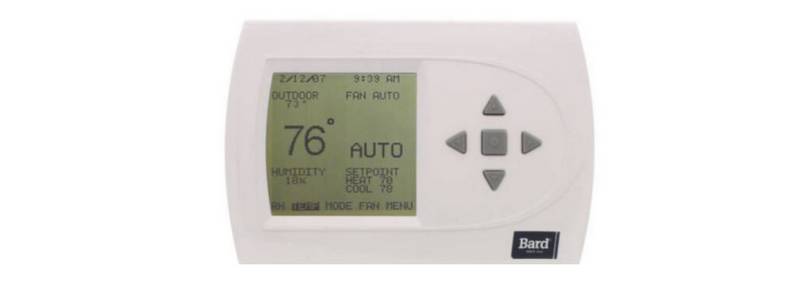
BARD THERMOSTAT Menu Driven Display 1120-445A User Manual

eve thermo 22088 Eve Radiator Thermostat User Manual

Generic HY610 WiFi Digital Heating Thermostat User Manual

Honeywell ADEMCO 4500 Thermostat User Guide

heatit ET-7AW Touchscreen Programmable Thermostat User Manual