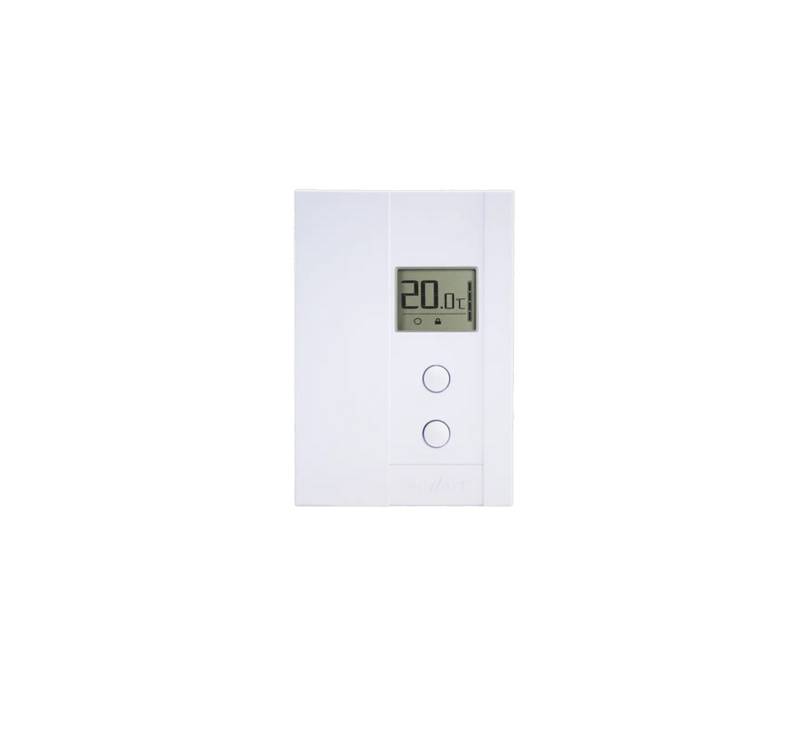
Danfoss RET230 Electronic Heat Cool Thermostat Instruction Manual


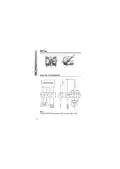


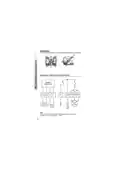


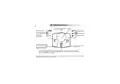


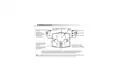


Descripción de los interruptores DIL
Interruptor 4: Si se pone en On/Off, funcionan la calefacción
y refrigeración en el modo On/Off. Si se pone
en Crono, funcionan la calefacción y refrig-
eración en el modo crono-proporcional.
Interruptor 3: Sólo se activa si el interruptor 4 está puesto en
Crono. Este interruptor determina el número de
ciclos por hora que el termostato hará trabajar al
sistema; las opciones son tres ciclos de 20 minu-
tos o seis ciclos de 10 minutos
Interruptor 2: Permite seleccionar la escala de temperatura
Celsius o Fahrenheit
Interruptor 1: No se usa en este modelo
32
| General | Details |
|---|---|
| Name | Danfoss RET230 Electronic Heat Cool Thermostat Instruction Manual |
| Make | Danfoss |
| Language | English |
| Filetype | PDF (Download) |
| File size | 0.66 MB |


Danfoss RET-MD Electronic Intelligent Dial Setting Thermostat Installation Guide
Danfoss VICUQ24M Icon Programmable II Room Thermostat Installation Guide

Danfoss MBC 8000, MBC 8100 Heavy Duty Thermostat Installation Guide

Danfoss UT 72-UT 73 Universal Thermostat Installation Guide

Danfoss ECtemp 530 Electronic Thermostat Installation Guide

Danfoss 014G0251 Eco Radiator Thermostat User Guide

Danfoss 014G0013 Z Wave Radiator Thermostat Installation Guide

Danfoss RET230P Electronic Thermostat Instruction Manual

Danfoss TP7000 Range Electronic 7 Day Programmable Room Thermostat Installation Guide

Danfoss RET1000 Series Electronic Thermostat User Guide


Vaillant VRT 51f sensoROOM Wireless Room Thermostat Instruction Manual

GENERAL LIFE SENNA 270S Digital Room Thermostat User Manual
STELPRO UT202NP Series Non-Programmable Electric Thermostat Owner’s Manual

telethings teleRelays-2L Device Thermostat User Manual

BVF Heating L-1 Smart Outdoor Thermostat User Manual

DAIKIN ONE+ Smart Thermostat User Manual

SunTouch SunStat CommandPlus Programmable Thermostat Instruction Manual

EMERSON 1F75H-21NP Non Programmable Heat Pump Thermostat Instruction Manual

BOSCH RT20 RF Room Thermostat User Manual

COPELAND 1F95G-1235GC Humidity Universal Thermostat Instruction Manual