
Home > ESi Controls > ESi Controls ESRTERFW Wireless Digital Room Thermostat Installation Guide
ESi Controls ESRTERFW Wireless Digital Room Thermostat Installation Guide
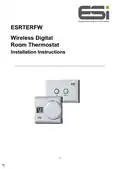


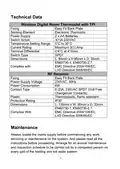


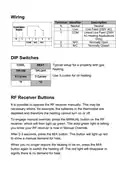


Installing the RF Receiver
1. Loosen the screws under the unit and remove the backplate.
2. Attach the backplate, terminals at the top directly onto a flat
wall using wall plugs & screws, or on a flush mounting single
conduit box. Route the wires through the backplate and attach
them to the terminals in accordance with the relevant diagram
and in accordance with I.E.E. regulations.
3. Attach the RF Receiver onto the backplate and tighten the
screws. Ensure an appropriate fuse is fitted to the circuit before
connecting to the mains supply.
RF Pairing (Commissioning/Configuring)
The thermostat & RF receiver will have already been paired in the
factory, so no pairing should be necessary. However, if RF comms
are lost, follow the steps below.
1. Press & hold the M/A button for approximately 10 seconds, until
the MANUAL button flashes green.
2. Ensure the thermostat has good quality batteries.
3. Move the thermostat dial to number 1 and remove the dial by
firmly pulling it away from the thermostat.
4. You will see a small black button in the space where the dial
was. Hold this button until the receiver light stops flashing.
5. Return the dial to the thermostat with number 1 at the top. Turn
the dial to a level above the room temperature and check the
M/A button is illuminated red.
6. If unsuccessful, isolate the power to your RF receiver for 5
minutes, then switch the power back on and repeat the steps
above.
6

| General | Details |
|---|---|
| Name | ESi Controls ESRTERFW Wireless Digital Room Thermostat Installation Guide |
| Make | ESi Controls |
| Language | English |
| Filetype | PDF (Download) |
| File size | 0.17 MB |
 (1 votes, average: 5.00 out of 5)
 Loading...

ESi Controls ESRTP4TOUCH Programmable Room Thermostat Instruction Manual


Honeywell T6360 Room Thermostat User Manual

Aprilaire S86N MUPR Multi Stage Universal Thermostat Owner’s Manual

TELLUR TLL331441 Thermostat Instructions

DELTA DORE Tybox 5701FP Pilot Wire Thermostat User Guide

thermokon JOY 5DO Digital Room Thermostat User Manual

Honeywell T140 7-Day Programmable Wired Thermostat User Guide

Honeywell RTHL2510 Series Programmable Thermostat Owner’s Manual

CSA-IOT Co002 Connecte Smart Thermostat User Manual
REHAU NEA SMART 2.0 Room Thermostat Installation Guide

TECH CONTROLLERS EU-T-4.1n, EU-T-4.2n Wireless Thermostat User Manual