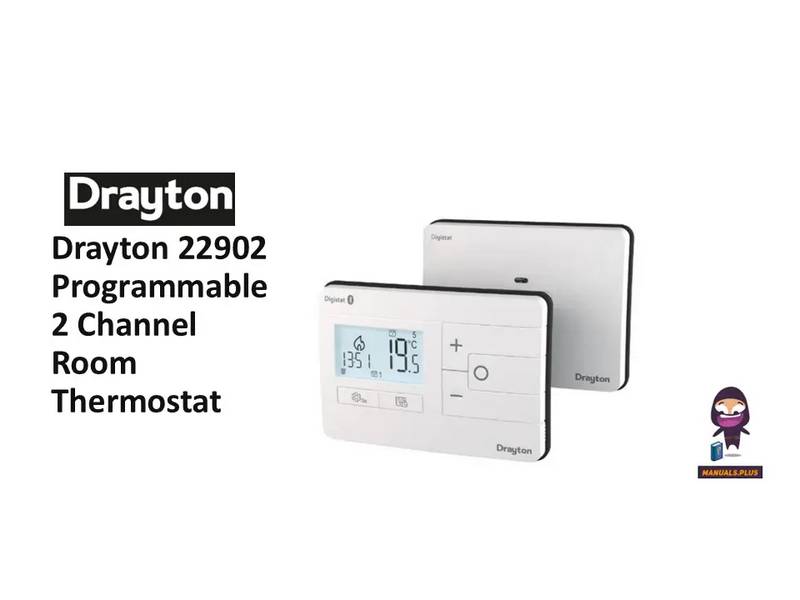
Drayton 22902 Programmable 2 Channel Room Thermostat Installation Guide


3a. Complete the wiring according to the connections
shown in Fig 3.
Digistat
3rd Generation
Programmable 2-Channel
Room Thermostat
Model: 22902
Technical Helpline Tel: 0333 6000 622
Email: customer.care@draytoncontrols.co.uk
User and Installation Guide 06490346001 Iss B
Installation guide
Before Installation
If you do not have the knowledge to install the thermostat
safely then you must arrange for a competent electrician
to install it for you. Wiring must conform to the current IEE
regulations.
(Fig. 3)
3b. If your boiler supports OpenTherm please follow these
instructions:
Remove the OpenTherm cables from the existing controller
or thermostat. Connect the cables to the OpenTherm termi-
nals OT1 and OT2 on the Digistat. Polarity is not important.
Wire L and N from a separate supply with a 3A fuse.
Note that when connected to an OpenTherm boiler, Installer
Options 06 Valve Protection and 08 Application Type are not
available. The following options will appear in the Installer
Options list:
Prior to commencing the installation you must ensure the
mains supply is switched off.
1. Remove the front cover by releasing the 2 screws at the
bottom. Mounting holes and electrical connections are found
underneath the hinged black cover (Fig 1).
10 Upper CH water set point 30-80°C
Default 70°C
Default 10°C
Default 60°C
11 Lower CH water set point
12 Set HW temp
10-25°C
45-65°C
4. Close the black hinged terminal cover and replace the
front cover by locating the two latches at the top then fasten
the 2 screws at the bottom (Fig 4).
(Fig. 1)
2. Fix back plate directly onto the wall using suitable wall plugs
and screws or mount over existing wall box (Fig 2).
(Fig. 4)
5. The Digistat is now installed and will automatically start to
control the room temperature.
(Fig. 2)

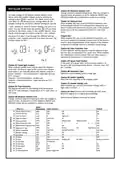
| General | Details |
|---|---|
| Name | Drayton 22902 Programmable 2 Channel Room Thermostat Installation Guide |
| Make | Drayton |
| Language | English |
| Filetype | PDF (Download) |
| File size | 0.2 MB |


Drayton RF902 Digistat 3rd Generation Wireless 2-Channel Programmable Thermostat Installation Guide

Drayton Wiser Smart Room Thermostat Instruction Manual

Drayton 2290M Digistat 3rd Generation Programmable Room Thermostat Installation Guide

Drayton RF710 Digital Wireless Room Thermostat Installation Guide

Drayton 2290M Mains Digital Room Thermostat User Manual
Drayton 22902 Programmable 2 Channel Room Thermostat Installation Guide Overview
Summary of Contents
- Page 1: Complete the wiring according to the connections shown in Fig 3. Before installation, if you do not have the knowledge to install the thermostat safely, you must arrange for a competent electrician to install it for you. Wiring must conform to the current IEE regulations. If your boiler supports OpenTherm, remove the OpenTherm cables from the existing controller or thermostat and connect them to the OpenTherm terminals OT1 and OT2 on the Digistat. Polarity is not important when connecting the cables. Prior to commencing the installation, ensure the mains supply is switched off. Remove the front cover by releasing the 2 screws at the bottom. The Digistat is now installed and will automatically start to control the room temperature. Close the black hinged terminal cover and replace the front cover by locating the two latches at the top. Fix back plate directly onto the wall using suitable wall plugs and screws or mount over existing wall box.
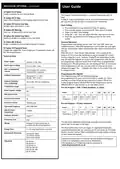
- Page 2: Installer options allow for customization of thermostat settings. Maximum setpoint limit changes affect all setpoints in various modes. Optimum start adjusts the thermostat early based on ambient temperature and scheduled setpoints. Delayed start saves energy by postponing setpoint implementation if the ambient temperature is close. Valve protection time ensures relay outputs operate for at least one minute weekly. Sensor fault function reduces heating output during a sensor fault event. Partial sight assistant provides audible tones for setpoint adjustments relative to room temperature. Frost protection activates heating to maintain a minimum temperature in OFF mode. Installer settings lock requires a code to access settings. Reset option restores the Digistat to factory settings without affecting service interval settings.
- Page 3: Installer options Enable or disable service interval mode. The Drayton Digistat thermostat is a universal thermostat with various program types and can also be used as a simple room thermostat. Set date when next service is due. Select number of days before service due date. Enable or disable the audible service due alarm. Enable or disable the service boost feature. Programmable thermostats offer temperature control both day and night. Change the 4 digit PIN if you forget your Si password. The temperature can be changed temporarily in auto mode. Your Digistat comes with pre-programmed settings suitable for typical work patterns.
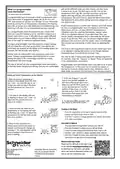
- Page 4: What is a programmable room thermostat? A programmable room thermostat is both a programmer and a room thermostat. A programmer allows you to set ‘On’ and ‘Off’ time periods to suit your own lifestyle. A room thermostat works by sensing the air temperature and controlling the heating accordingly. You can have different temperatures in individual rooms by installing thermostatic radiator valves (TRVs). A programmable room thermostat lets you choose what times you want the heating to be on and what temperature it should reach. Turning a programmable room thermostat to a higher setting will not make the room heat up any faster. The time on the programmer must be correct and may need adjustments for daylight saving time. Programmable room thermostats need a free flow of air to sense the temperature. Setting up times and temperatures involves adjusting the time periods and confirming changes. To switch between automatic and manual modes, use the cog button and select your desired option. For more detailed instructions, refer to the user guide available online.

COOKING PERFORMANCE GROUP 351030208 Retrofit Thermostat Instructions

EMERSON 1F76U-22WFB Series Sensi Lite Smart Thermostat Installation Guide

Honeywell RTH230B Thermostat Installation Guide

EZAIoT 20230324 IPS Colorful LCD Screen Touch Smart Thermostat User Manual

Honeywell PRO 1000 Series Non-Programmable Thermostat Instruction Manual

eurotronic Comet Zigbee Energy Saving Radiator Thermostat Instruction Manual

GENERAL LIFE HT330S RF Wireless Room Thermostat User Manual

SALUS HTR230 Dial Thermostat User Manual

Wengart TP808 Wi-Fi Low Voltage Thermostat User Guide

DEVI 140F1161 Intelligent Electronic Timer Controlled Thermostat Installation Guide