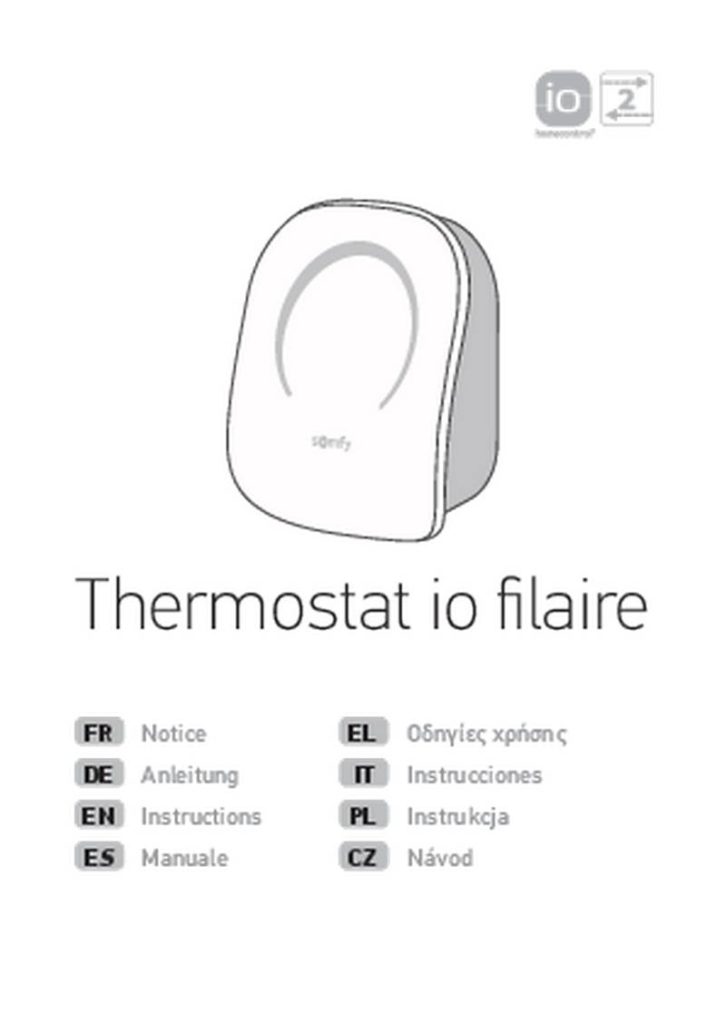
somfy 1870776 Wired IO Thermostat Instructions


INSTALACIÓN Y PUESTA EN MARCHA
1
2
3
OFF
Cortar la alimentación antes
de comenzar la instalación
del termostato io.
Desenganchar la cara
Retirar el módulo de
alimentación de la cara
delantera del termostato.
delantera de la cara trasera
presionando en el punto de
presión.
4
5
Unir los cables del módulo de alimentación del termostato
a los cables de alimentación que salen de la caja empotrada
con un conector adecuado.
Desenroscar la cubierta de
protección.
6
7
Hacer pasar el módulo de alimentación del termostato a
través del orificio de la parte trasera del termostato.
Hacer pasar los cables de
control de la caldera (NA/
COM) por el agujero de la
cara trasera.
26
| General | Details |
|---|---|
| Name | somfy 1870776 Wired IO Thermostat Instructions |
| Make | somfy |
| Language | English |
| Filetype | PDF (Download) |
| File size | 1.02 MB |


Honeywell ATC928 Evohome Connected Multi Zone Room Thermostat Installation Guide

GENERAL LIFE HT330S RF Room Thermostat User Manual

Honeywell Home RLV3150 Electric Thermostat User Guide

Honeywell CM921 Wireless Programmable Room Thermostat User Guide

ENGO CONTROLS EFAN-230W WIFI 230V Fan Coil Thermostat User Guide

MYSON Unisenza Dial Thermostat User Manual

GENERAL LIFE 270S RF Room Thermostat User Manual

WATTS Tekmar Wi-Fi Thermostat Instruction Manual

REHAU NEA H 24 V Room Thermostat Instruction Manual

LAE AC1-2W Digital Thermostat Instruction Manual