Vtech E-Smart W960 Thermostat Instruction Manual


Installing E-Smart W960 Thermostat
|
Gree Frigidaire
PTAC or Heat Pump
©2023 VTech Communications, Inc. All rights reserved.

| General | Details |
|---|---|
| Name | Vtech E-Smart W960 Thermostat Instruction Manual |
| Make | vtech |
| Language | English |
| Filetype | PDF (Download) |
| File size | 0.16 MB |
 (1 votes, average: 5.00 out of 5)

vtech Installing E-Smart W960 Thermostat User Manual

vtech T961NN50 Amana Wired Thermostat User Guide

vtech W960 E-Smart Wireless Thermostat User Manual

vtech W960 Installing E-Smart Thermostat Instruction Manual

vtech T961NN50 Universal Wired Thermostat User Guide

vtech W960 E-Smart Thermostat Instruction Manual

vtech T961NN50 E-Smart Thermostat Installation Guide

vtech T961 Wired Thermostat Owner’s Manual

vtech T961NN50 Wired Thermostat User Guide

vtech W960 E-Smart Wireless Thermostat

Vtech E-Smart W960 Thermostat Instruction Manual Overview
Summary of Contents
- Page 1: Installing E-Smart W960 thermostat Gree Frigidaire PTAC or heat pump
- Page 2: Before you begin, search the Google Play store for the “VTech EC Tool” app or scan the QR code to access the app and installation documents. Download and install the app on your Android smartphone or tablet. Open the EC Tool app, tap menu > profiles, then follow the prompts for creating a customized profile for your PTAC or Heat Pump. You must create separate profiles for Conventional PTACs vs Heat Pumps for the unit to function properly. Be sure to have a USB-C to USB-C cable as you will need to connect your smart device to the USB-C input terminal on the thermostat for provisioning. Power down the PTAC and remove the cover. Remove the wired thermostat wiring block from the unit. Using a precision screwdriver, change the #2 Dip Switch to the UP (On) position to enable Wall Thermostat control. Attach the VTech Wiring Harness to the appropriate wired thermostat terminals, then reinsert the wiring block into the receiver. For Heat Pump applications, the Orange wire from the controller must be attached to the O terminal.
- Page 3: Plug the VTech Wiring Harness into the controller module. Press the connector firmly to ensure it snaps into place securely. Install the batteries into the thermostat. Tap any key to wake the thermostat. The LED on the controller will change from alternating green/red to solid green to indicate it is paired. Prepare the thermostat for configuration. Tap the menu icon to wake the thermostat. Use menu and up/down to select system settings. Plug the USB-C cable into the thermostat.
- Page 4: Using the app, provision the thermostat. Tap installation to begin. Select a stored profile. Assign room number (optional). Verify security pin. Confirm wiring diagram. Tap start to begin. Once setup is completed, remove the cable and the thermostat will reboot. Test your system by adjusting the target temperature. Verify heat first, then cool.
- Page 5: Use the included mounting hardware to mount the thermostat wall plate to the wall. Secure the thermostat to the wall plate using the security screw. The installation is complete.
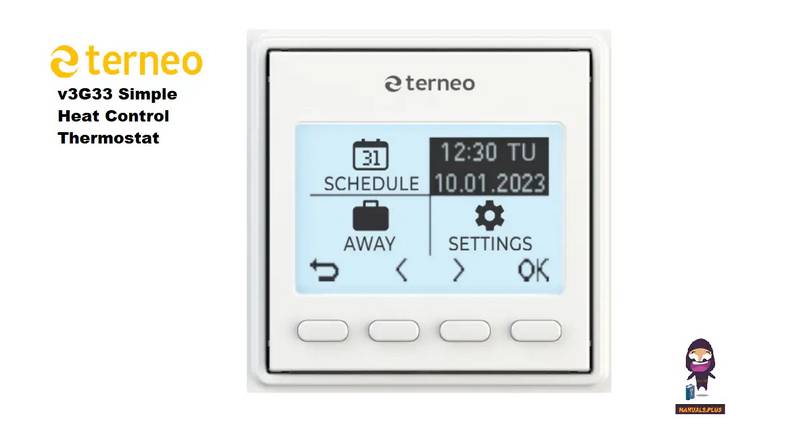
terneo v3G33 Simple Heat Control Thermostat Instruction Manual

SIEMENS RDG400 Room Thermostat Instruction Manual

Honeywell Home RCHT8610WF T5 Smart Thermostat Installation Guide

COMAP L151002001 Smart Home Thermostat User Manual

GENERAL ARUNA 301S Digital Room Thermostat User Manual

Beca BHT-8000 Heating Thermostat User Guide

Milesight WT201 Airteq Smart Thermostat User Guide

GENERAL LIFE HT25S RF Wireless Room Thermostat User Manual

NEOMITIS RTE7D, RTE7BD Wired Digital 7 Day Programmable Room Thermostat Instruction Manual

ENGO CONTROLS E10-MBUSW Wi-Fi Modbus Thermostat User Guide