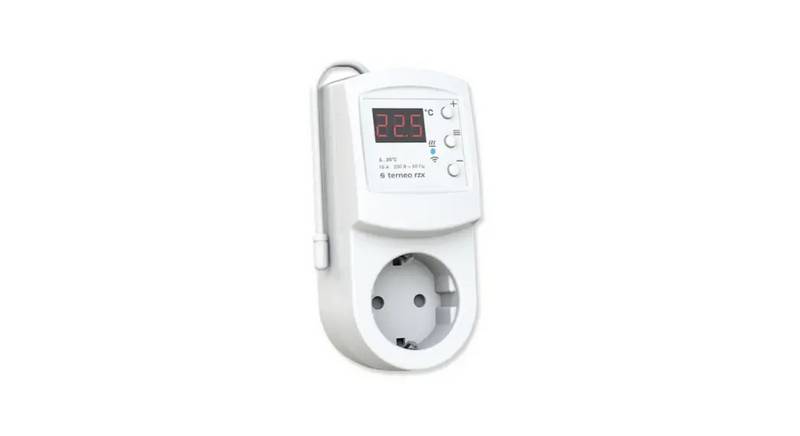
terneo rzx Smart Thermostat User Manual


5. Select the Wi-Fi network created by the thermostat,
press «Further». The WLAN connection does not have to
be 5G.
a name (for example, «Bedroom») and a pin-code, which is
displayed* on the thermostat screen. Press «Next» and
device will be added.
Setup and terneo Account for Android
1. Download the free app «terneo» on Google Play and
launch it.
* If there is no PIN-code on the thermostat
screen, read the chapter «PIN-code for
registration in the cloud or local IP» table 1.
6. Go to WLAN settings on your iPhone. Connect to Wi-Fi
network, created by the thermostatic regulator (for
example, terneo rzx_27001A). If a password is required for
the connection, enter DSEXXXXXX, where XXXXXX is the
last six symbols in the name of network (for example:
DSE27001А).
2. Register or log in with the help of your Facebook
account, Apple ID or Google accoun.
3. Turn the thermostat to the mode «AP» — Access Point
mode. Upon the first switching on of the thermostat will
stay in the Access Point mode during approximately 10
minutes. If during this period of time there is no
connection to the thermostatic regulator, there will
automatic return to the Client mode «Clı».
If the thermostat displays «iP» instead of a PIN
code, this indicates no connection with the
«cloud».
Then return to the app. The app will show to connect your
thermostat. In the presence of the internet, the thermostat
will be added to the main application screen and registered
in the «cloud».
If the thermostat screen does not display «Pin» or «iP» the
WLAN connection is failed.
In order to pass to Access Point «AP»:
TO CHANGE THE PASSWORD OF YOUR WI-FI
NETWORK, follow the first six points of the section
«Connecting through web page my.terneo».
regime button «≡» before emergence of the
inscription «APC»;
Setup and terneo Account trough web page
my.terneo.ua
using «+» or «–» replace «Clı» value with
«AP».
1. Turn the thermostat to the mode «AP» — Access Point
mode. Upon the first switching on of the thermostat will
stay in the Access Point mode during approximately 10
minutes. If during this period of time there is no connection
to the thermostatic regulator, there will automatic return to
the Client mode «Clı».
When connecting to the thermostat in the
Access Point mode, on the screen there will
be a message like «con» (conneсtion) every
5 second.
STATUS OF THE BLUE INDICATOR
on the thermostat indicates the WLAN mode
and connection with the «cloud»
4. In the application press «+», further press «Device»
or «≡», further «Add th», further «Device».
In order to pass to Access Point «AP»:
there is a connection
lights
regime button «≡» before emergence of the
inscription «APC»;
with the cloud
5. Select the Wi-Fi network created by the thermostat (for
example, terneo rzx_27001А ).
no Wi-Fi connection
does not light
or Wi-Fi off
using «+» or «–» replace «Clı» value with
«AP».
6. Enter the name and password from your Wi-Fi.
The WLAN connection does not have to be 5G.
mode Access Point (AP)
flashing 2 times / s
flashing 1 time / 3 s
When connecting to the thermostat in the
Access Point mode, on the screen there will be
a message like «con» (conneсtion) every 5
second.
the mode Client is a Wi-Fi,
but there is no connection
to the cloud
The app will show you how to connect your thermostat. In
the presence of the internet, the thermostat will be added
to the main application screen and registered in the
«cloud».
2. Go to WLAN settings. On the desktop connect to WiFi
network, created by the thermostat (for example, terneo
bx_27001А). If a password is required for the connection,
center DSEXXX XXX, where XXX XXX is the last 6
symbols in the name of network (for example:
DSE27001А). The Android operating system may prompt
you to confirm the connection to a WLAN network that
does not have access to the Internet. To continue the
connection, click «Do not disconnect».
Setup and terneo Account for IOS
1. Download the free app «terneo» on Google Play and
launch it.
2. Register or log in with the help of your Facebook
account, Apple ID or Google accoun.
3. In the address bar of the browser, type 192.168.0.1
3. Turn the thermostat to the mode «AP» — Access Point
mode. Upon the first switching on of the thermostat will
stay in the Access Point mode during approximately 10
minutes. If during this period of time there is no
connection to the thermostatic regulator, there will
automatic return to the Client mode «Clı».
4. On the thermostat page, select your Wi-Fi network and
enter its password. Click the «Connect» button.
5. The thermostat during one minute will generate the
connection to your Wi-Fi net. The successful connection to
the WLAN network will be indicated by the constant glow of
the blue indicator of the thermostat.
In order to pass to Access Point «AP»:
6. After the successful connection the screen of the
thermostat will display PIN-code, necessary for the
connection to «cloud» (three-digit number without any
additional characters).
regime button «≡» before emergence of the
inscription «APC»;
using «+» or «–» replace «Clı» value with
«AP».
7. Go to WLAN settings on your phone and make sure you
are already connected to your home WLAN network.
When connecting to the thermostat in the
Access Point mode, on the screen there will
be a message like «con» (conneсtion) every
5 s.
8. In the address bar of the browser, enter my.terneo.
9. Register or log in with the help of your Facebook
account, Apple ID or Google accoun.
4. In the application press «+», further press «Device»
or «≡», further «Add th», further «Device».
10. On the desktop app click «+ Add» – «Device» and enter
5
6
7
8
| General | Details |
|---|---|
| Name | terneo rzx Smart Thermostat User Manual |
| Make | terneo |
| Language | English |
| Filetype | PDF (Download) |
| File size | 0.25 MB |

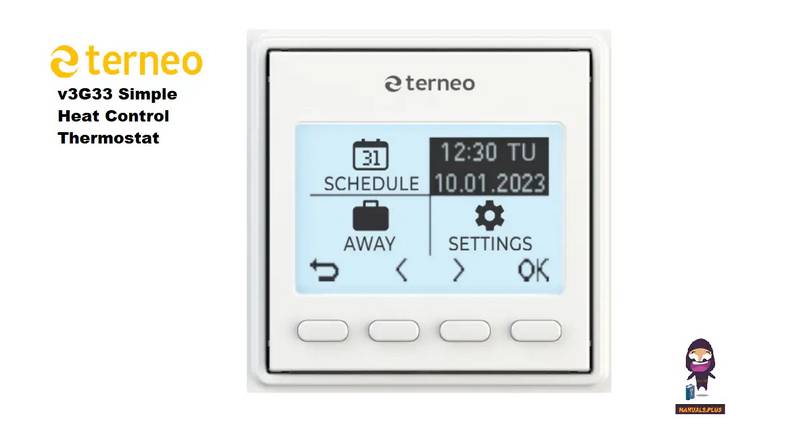
terneo v3G33 Simple Heat Control Thermostat Instruction Manual

terneo BeeRT Digital Thermostat Instruction Manual

terneo bx Smart Thermostat Instruction Manual

Honeywell CT2800 Programmable Thermostat Installation Guide

Honeywell Home T6 Pro Smart Programmable Thermostat User Guide

WHITE-RODGERS 1F86-444 Non Programmable Electronic Digital Thermostat Instruction Manual

MYS Air MS20,22,25 Thermostats User Manual

ESi Controls ESRTERFW Wireless Digital Room Thermostat Installation Guide
Stelpro STE362RNP Electronic Thermostat User Guide

LAE AC1-2W Digital Thermostat Instruction Manual

HEATIT 54 304 59 DIN Smart Thermostat Installation Guide

GENERAL LIFE NORA 270S RF Wireless Room Thermostat User Manual

BEOK CONTROLS TGR86 WiFi Thermostat User Guide