ECSPST Fort Programmable Thermostat User Guide


ECSPST
Quick Start Guide
Fort Programmable Thermostat with RF and WiFi White
The latest product manuals and software is available online:
REV: J22

| General | Details |
|---|---|
| Name | ECSPST Fort Programmable Thermostat User Guide |
| Make | ECSPST |
| Language | English |
| Filetype | PDF (Download) |
| File size | 1.32 MB |


ECSPST Fort Programmable Thermostat User Guide Overview
Summary of Contents
- Page 1: Quick start guide Fort programmable thermostat with RF and WiFi white The latest product manuals and software is available online.
- Page 2: Features Product overview Thermostat functions Thermostat configuration Thermostat installation Installation plan A Installation plan B Pairing the thermostat and receiver Product description Preparation for use
- Page 3: Features include a large LED display and touch button. The device has permanent user settings and program settings that remain during power loss. It offers a one button Holiday mode and programming periods for 7-day individual or 5/2 split schedules. There are 6 separate time/temperature periods available per day. Additional features include a key lock facility, low battery indication, and frost protection. An optional intelligent function, Optimal Start, is included, along with an open window function. The device is integrated with the Clicksmart+ App.
- Page 4: Product overview Thermostat Wireless icon indicates connection status. Frost protection icon. Call for heat icon. Programming mode icon. Low battery alert. Room temperature or setting temperature display. Receiver output indicator shows call for heat status. Network connection successful indicator. Default programming schedule can be configured within the ClickSmart+ app.
- Page 5: Thermostat functions include switching between ON and standby modes. In standby mode, only frost protection is active. The key lock function allows users to lock or unlock the keys. Frost protection activates when the room temperature falls below 5°C. A low power alert notifies users when the thermostat is critically low on power. Optimal start enables the thermostat to begin heating before the scheduled time. Fault alerts indicate damage to the internal sensor. Operating modes include schedule mode, boost mode, and manual mode. Boost mode sends a call for heat until the next scheduled program. Manual mode sets the thermostat to a desired temperature until manually ended.
- Page 6: Thermostat configuration involves several steps to access and adjust settings. To enter the configuration menu, long press the designated button in standby mode. You can adjust settings by pressing the appropriate buttons and save changes to exit the configuration menu. Restoring factory settings requires pressing and holding two specific buttons, which will erase any custom configurations. Temperature calibration options range from -4°C to +4°C, with maximum and minimum setting temperature ranges available. Heating conditions are based on the relationship between room temperature and the set temperature. The thermostat allows for multiple programming periods per day, with options for 2 ON & 2 OFFs or 3 ON & 3 OFFs. It features an intelligent function for optimal start and a frost protection function. The thermostat's LED display can be configured to show or hide information via an app.
- Page 7: Thermostat installation involves battery installation and mounting options. To install batteries, take off the cover and install AA batteries, ensuring correct polarity. For desk mounting, hang the thermostat on the stand and complete the installation. For wall mounting, put the backboard on the installation box, secure the backplate using bolts, and then secure the thermostat to the backplate. Complete the installation process.
- Page 8: Installation plan A outlines the necessary steps for installation and servicing by competent persons in accordance with relevant wiring regulations. Before any installation or maintenance, ensure that the electrical supply is switched off at the breaker. The receiver should be installed in the boiler's vicinity and within the desired wireless network's signal area. The thermostat can be installed anywhere within range of the receiver. The distance between the thermostat and receiver cannot exceed 100m in an open field. Instructions include installing the receiver on the wall and attaching the backplate. Control cables and power supply cables are specified for installation. Boiler type selection is necessary for proper thermostat output configuration. The document includes wiring details for different boiler types. Potential free relay configurations are mentioned for compatibility with various systems.
- Page 9: Installation Plan B Our products are designed to comply with the recommended codes of practice and to be installed and serviced by competent persons in accordance with the relevant wiring regulations. Warning: Before any installation or maintenance, ensure that the electrical supply is switched off at the breaker. When installing the thermostat directly to the boiler, ensure the receiver is within the WiFi coverage area. Note: Distance between thermostat and receiver cannot be greater than 100m (open field). When the thermostat is connected directly to the boiler, item 8 of the configuration should be “ON”. Install receiver as gateway with plug adapter. Caution: potential of 230V on connection. Risk of electric shock.
- Page 10: Pairing the thermostat and receiver is typically pre-paired by default. The LED will stay illuminated yellow. To turn off the receiver, press the designated button. When in the OFF condition, press and hold the button for at least 3 seconds to illuminate the LED yellow constantly. On the thermostat in standby mode, press and hold the button for 3 seconds. If pairing is successful, the thermostat will display a confirmation message and the icon will constantly display. The thermostat will then automatically return to the OFF interface. Press the designated button to enter pairing mode. In pairing mode, the thermostat will display a specific message and the icon will be flashing.
- Page 11: Product description The WiFi Smart Thermostat (ECSPST) forms part of the ESP Fort range of smart products. Users are able to control the Smart Thermostat using the ClickSmart+ app, manually and using voice controls. The ECSPST can be used to program your heating schedule and the desired heating temperature. Preparation for use To use the ECSPST you will need to download the ClickSmart+ app. Ensure that you have a mobile device running iOS 8 or higher, or Android 4.1x or higher. It is important to know your Wi-Fi network and Wi-Fi network’s password before pairing the Thermostat. Installation instructions On the ClickSmart+ app’s home page, click on the “+” symbol in the top right of the home screen. Then click on “ESP” on the left hand side. The app will then display on screen instructions for pairing the ECSPST onto the Wi-Fi network.
- Page 12: Page 12

Hive B011B3J6B8 Active Heating Thermostat Owner’s Manual

VICONICS VTR8350A5500B Fan Coil Unit Thermostat User Manual

namron 16A 2.0 Zigbee Touch Thermostat Instruction Manual

ENGO CONTROLS E55-B, E55-W Wi-Fi Thermostat User Guide

SALUS Wired Electronic Thermostat – Non-programmable HTR230 User Manual

GENERAL LIFE MITRA 230S Digital Room Thermostat User Manual

HEAT DECOR HD-T1000 WIFI Thermostat User Guide
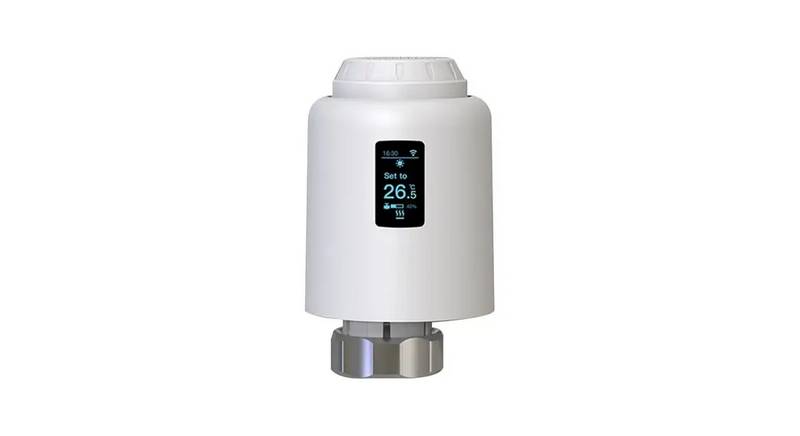
tuya TRV603 Smart WiFi Radiator Thermostat Instruction Manual
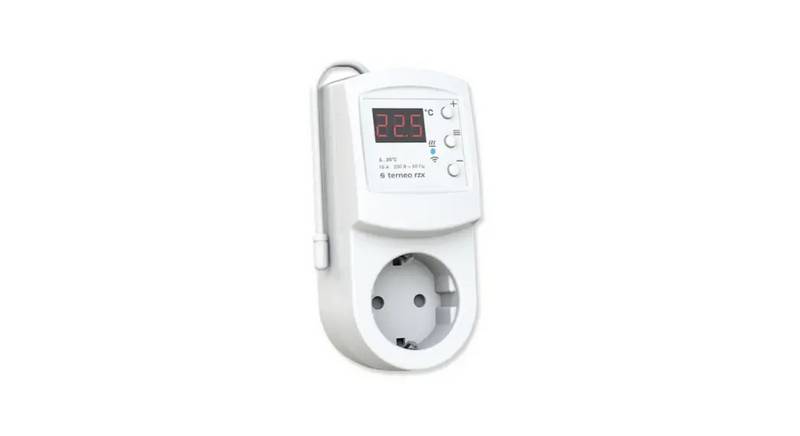
terneo rzx Smart Thermostat User Manual

Honeywell N100 Series FocusPRO Thermostat Installation Guide