
Sygonix SY-6052180 Wi-Fi Thermostat Instruction Manual


Operating Instructions
Wi-Fi Thermostat
Item no: 3026090


| General | Details |
|---|---|
| Name | Sygonix SY-6052180 Wi-Fi Thermostat Instruction Manual |
| Make | Sygonix |
| Language | English |
| Filetype | PDF (Download) |
| File size | 0.2 MB |
 (1 votes, average: 5.00 out of 5)
 Loading...

sygonix SY-5470190 Wireless Indoor Thermostat Instruction Manual

Sygonix 2992337 DIN Rail Mounted Heating And Cooling Thermostat User Manual

sygonix 2735095 Wireless Heating Thermostat Instruction Manual

sygonix 3026090 WiFi Thermostat Installation Guide

sygonix 2522212 Installable Thermostat Instruction Manual

Sygonix 2735095 Wireless Indoor Thermostat Instruction Manual

sygonix 2997033 Wi-Fi Radiator Thermostat Instruction Manual

Sygonix SY-6052180 Manual: Questions and Answers
What is the difference between Always on and Selective on display modes on the Sygonix SY-6052180?
| Mode | Description |
|---|---|
| Always on | Display remains on at reduced brightness |
| Selective on | Display switches off until activated again |
What does the window-open mode symbol indicate on a thermostat display?
A window is open and the window-open mode is activated. Instruction Manual, p. 7
How do I know the Sygonix SY-6052180 is connected to Wi-Fi and the cloud?
The WLAN connection symbol and the cloud connection symbol show on the display. Instruction Manual, p. 14
Why does the Sygonix SY-6052180 display a sensor fault error?
Check the sensor type setting or the sensor may be damaged.
- Verify the correct sensor type is selected in Advanced > Sensor type.
- Replace the sensor if it is damaged. Instruction Manual, p. 15
How do I replace the backup battery in my Sygonix SY-6052180 thermostat?
A professional must replace the battery. Switch off power, disconnect wires, discharge static charge, remove the thermostat unit and cover, then swap the battery with the plus-pole facing up.
- Switch off the power supply to the product.
- Disconnect all connected wires.
- Touch an earthed metal object to discharge yourself from static charge.
- Unclip and remove the thermostat unit.
- Unscrew and remove the cover.
- Carefully lift the cover and guide the built-in sensor through the sensor opening, then remove the battery. Instruction Manual, p. 16
More Sygonix thermostat manuals

COMAP L151002001 Smart Home Thermostat User Manual

Moes BHT-3000 Series Thermostat User Guide

beok R6X Wireless Gas Boiler Thermostat Instruction Manual

ideal HEATING Halo Lite RF Combi Wi-Fi Wireless Boiler Thermostat Instructions

Puravent CFST Frost Thermostat Installation Guide
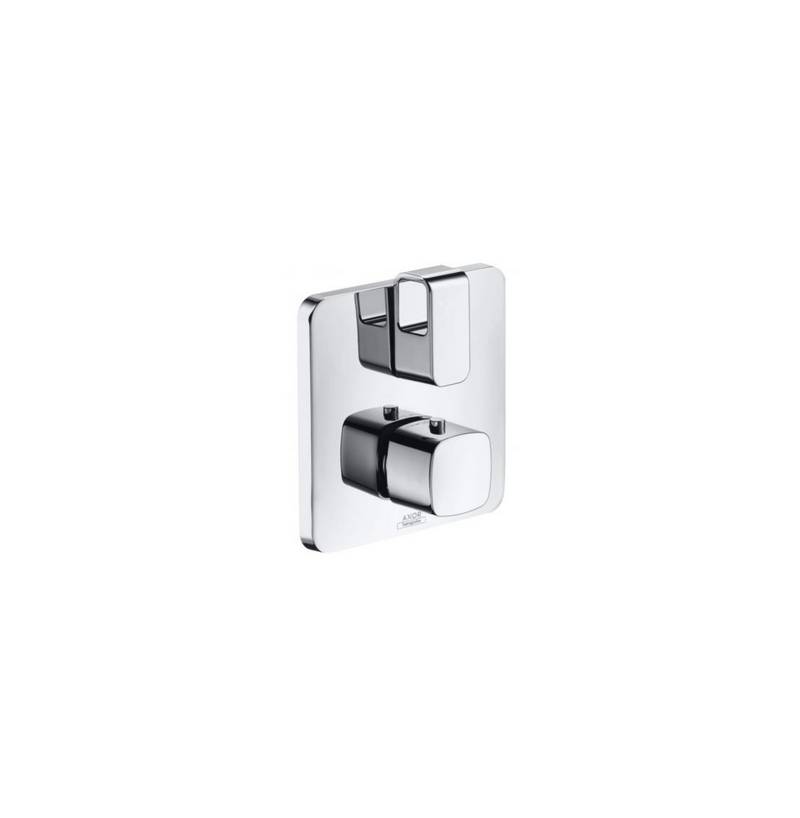
hansgrohe AXOR URQUIOLA Concealed Thermostat with Shut Off Valve Instruction Manual

EMOS P5611OT Wireless Thermostat Instruction Manual

GENERAL LIFE Therma 300S Wired Room Thermostat User Manual

dahua TRV1 Smart Radiator Thermostat Owner’s Manual

Danfoss 088N3688 Room Thermostat Installation Guide