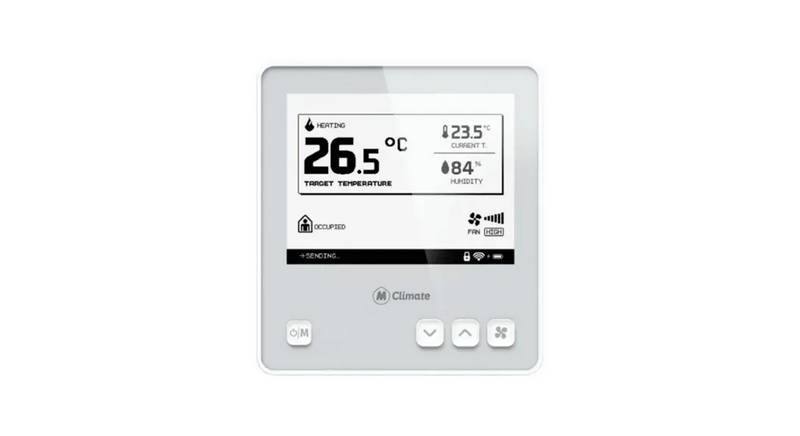
MClimate MC-LW-V02 Smart Radiator Thermostat User Manual


Vicki LoRaWAN®
User manual

| General | Details |
|---|---|
| Name | MClimate MC-LW-V02 Smart Radiator Thermostat User Manual |
| Make | MClimate |
| Language | English |
| Filetype | PDF (Download) |
| File size | 0.24 MB |

MClimate MC-LW-FCT-01 LoRaWAN Fan Coil Thermostat User Manual

MClimate MC-LW-V02 Smart Radiator Thermostat User Manual Overview
Summary of Contents
- Page 1: Vicki LoRaWAN® user manual
- Page 2: Scan the QR code to access MClimate Vicki LoRaWAN®. For installation instructions, scan the QR code or visit the link next to it. Need some help? For more product information and issues related to it, visit mclimate.eu/lorawan-resources.
- Page 3: What is in the box? Technical details, safety instructions, legal notices & compatibility Commissioning Batteries Installation Device operation
- Page 4: What is in the box? Vicki Vicki’s backplate User manual 2xAA batteries Energizer Lithium Ultimate L91
- Page 5: Technical specifications Description: MClimate Vicki LoRaWAN - Smart Radiator Model: MC-LW-V02 Dimensions: 54x78x50mm Weight: 107gr. Wireless technology: LoRaWAN® 1.0.3 LoRaWAN Security: LoRaWAN® End-to-End encryption (AES-CTR) Power supply: 3V (2 x AA batteries) Sensors: temperature and humidity Work temperature: 0°С to +60°С Environmental conditions: Indoor only; Altitude up to 2000m; Ambient temperature: -20°С to +60°С.
- Page 6: You can find a copy of the Declaration of Conformity at www.mclimate.eu/conformity. Vicki works with the majority of radiator valves. Default radiator valve fitting: M30x1.5. Available adaptors: RA, RAV, RAVL, ORAS Termostar, ORAS Stabila, Oventrop, Giacomini, Caleffi, M28x1.5 to M30x1.5. In order to operate Vicki, you will need a LoRaWAN® network and batteries. Battery type: 2xAA (1.5VDC each). Device operating voltage: 2.7 - 3.6VDC.
- Page 7: Batteries Follow the steps below to insert the batteries. Unplug the backplate of Vicki. Open the metal battery cover gently by using two fingers. Insert 2xAA 1.5VDC batteries and fix the battery cover tightly in place.
- Page 8: Batteries After successfully inserting the batteries and closing the metal battery plate, the device will display Hi. If you don't see Hi, please check the polarity and voltage of your batteries. Recommended batteries: Energizer Lithium Ultimate L91. Device does not operate with rechargeable batteries. Do not mix new batteries in use with semi-used batteries or different types of batteries as it will affect the performance and conditions of Vicki.
- Page 9: Installation Remove the old radiator thermostat. Set the old thermostatic valve to the highest setting (e.g. 5). Unscrew the securing ring and remove the thermostat. Warning: If you already have a thermostatic valve, during installation no water will leak. If you don't have a thermostatic valve, please call a specialist and ask them to replace your valves.
- Page 10: Mount Vicki on the thermostatic valve. Warning: Mount Vicki on the backplate ONLY after the backplate is mounted and secured on the radiator valve. Place the backplate of Vicki on the thermostatic valve, using appropriate adaptors when required. Screw tightly the securing ring. Do not overscrew. Align the head and backplate notches and insert Vicki on the backplate. Apply moderate pressure with your palm on Vicki's display and rotate the device clockwise to secure it on the backplate.
- Page 11: After successfully mounting Vicki, the front display must show the calibration animation. Vicki starts calibrating, which takes 1-2 minutes max. If the calibration was successful, when you rotate Vicki, you should see degrees changing. If you do not see anything light up on the display, calibration was not successful and you might need to use a pin extender.
- Page 12: Device operation Manual target temperature control You can set desired temperature directly from Vicki by rotating the device until you see the target temperature on the display. A properly installed and connected Vicki displays the target temperature when rotated. If two dashes appear on the top and bottom before the temperature, the device did not join the network successfully. Examine your Gateway and/or LNS for issues.
- Page 13: Low battery indication If Vicki's batteries are running low, it indicates that by showing a Lo message on the display.
- Page 14: Child lock If child lock is activated, Vicki’s display will show “Ch” and the manual temperature control will be disabled.
- Page 15: Calibration process will be initiated once Vicki is attached to the radiator. The aim is to let Vicki know the kind of valve she is attached to. During calibration, a loading animation will be displayed. It is important not to dismount the device during calibration.
- Page 16: Page 16

Honeywell THX321WFS2001W T10 or T10+ Pro Smart Thermostat User Guide

Zhongjin STN731RF Thermostat Instruction Manual

Carrier EB-STATE7ICR-01 Ecobee for Smart Thermostat Owner’s Manual

Moes BHT-006 Series Thermostat User Manual

Milesight WT201-868M Smart Thermostat User Guide

SALUS DT500 Thermostat User Guide

EPH CONTROLS HRT Room Thermostat User Guide

Vaillant VRT 51f sensoROOM Wireless Room Thermostat Instruction Manual
ENERGY TK02 Electronic Thermostat for Warm Floor User Manual

Zehnder ComfoControl Ease Installation Guide