CLIMATE MC-LR-THERMOS Wireless Thermostat User Manual


MClimate Wireless Thermostat LoRaWAN®
User manual

| General | Details |
|---|---|
| Name | CLIMATE MC-LR-THERMOS Wireless Thermostat User Manual |
| Make | CLIMATE |
| Language | English |
| Filetype | PDF (Download) |
| File size | 0.36 MB |


CLIMATE MC-LR-THERMOS Wireless Thermostat User Manual Overview
Summary of Contents
- Page 1: MClimate Wireless Thermostat LoRaWAN® User manual
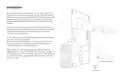
- Page 2: MClimate Wireless Thermostat LoRaWAN® installation instructions are provided in multiple languages. To install the MClimate Wireless Thermostat LoRaWAN®, scan the QR code or visit the link next to it. Extended documentation is accessible by scanning the QR code. For more product information and related issues, visit the provided resources.
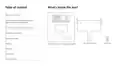
- Page 3: What’s inside the box? Technical details, safety instructions, legal notices & compatibility Device parts, mechanical dimensions Organic solar panel placement guidelines Display’s content Buttons Wall mounting plate Secure bolt MClimate wireless thermostat LoRaWAN® behavior Installation
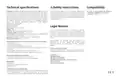
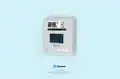
- Page 4: Technical specifications Safety instructions Compatibility MClimate Wireless Thermostat is a stand-alone thermostat powered entirely by solar energy using an organic solar panel. The device features a 2.9 e-ink screen, movement sensor, temperature and humidity sensor, LUX sensor, and 3 buttons. The user can change the target temperature and see current indoor conditions. The device sends an uplink after any event as well as periodically. Failure to follow the recommended instructions in this manual may be dangerous or in violation of the law. All information, including features and functionality, are subject to change without notice. Environmental conditions for operation include indoor use only and a maximum relative humidity of 80% for temperatures up to 31°C. This device complies with the essential requirements of the EU directives. Storage conditions include an ambient temperature of -40°C to +85°C and relative humidity of 5% to 90% without condensation. The appliance marked with this symbol should not be disposed of with other household waste.
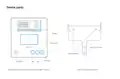
- Page 5: Device parts include the display, solar panel, secure screw hole, mounting holes, OK button, PIR sensor, and controls for up and down. The document features an assembled view of the MClimate Wireless Thermostat LoRaWAN® and a top view of the wall mounting plate.
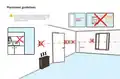
- Page 6: Do not place the device in direct sunlight, as this will result in gradual worsening of the performance of the solar panel. A few hours a day in direct sunlight wouldn’t be an issue.
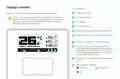
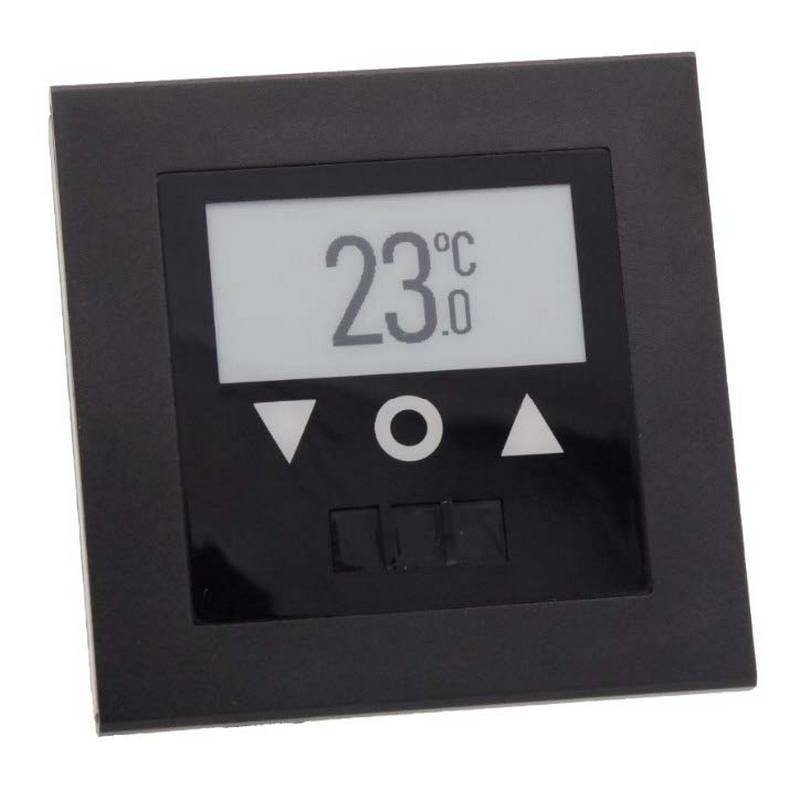
- Page 7: Description of the display's content includes various indicators. The target temperature is displayed prominently. The sensor temperature is also shown on the display. The 2.9” e-ink display supports fast partial refresh. Full refresh is performed every 12 hours to prevent image sticking. LUX and humidity readings are included in the display. Movement detection by the PIR is indicated on the display. The power source indicator shows solar, battery, or USB. A fire icon appears when the target temperature exceeds the sensor temperature. The child lock icon indicates that the thermostat is locked.
- Page 8: Buttons function as controls for the device. The up arrow increases the target temperature. The down arrow decreases the target temperature. One button is reserved for future use. The child lock can be activated by pressing OK + Up for 4 seconds. A reset triggers another Join-Request on SF9. Performing a reset does not equal a factory reset. All configured parameters are preserved during a reset. The document includes top and bottom views of the assembled MClimate Wireless Thermostat LoRaWAN®.
- Page 9: Start-up behavior The device starts when you expose it to light or press the Reset button on the back. The Wireless Thermostat has three options for power supply: Organic Solar Panel, USB-C, and 2 or 4 AA batteries (1.5VDC each). At startup, the device measures the voltage of the supercapacitor, which is storing the energy harvested by the solar panel. You can use both solar and USB-C or AA batteries at the same time. The energy harvested by the Organic Solar Panel is stored in a supercapacitor. If the supercapacitor is discharged, the device will wake up when it has harvested enough power. Once joined, the device will execute periodic and immediate data transmissions. All transmissions are subject to complying with the duty-cycle limitations of LoRaWAN end-devices. If you want to get started quickly, you can use the USB-C port to charge the capacitor from a 5VDC power supply. The time it takes to recharge will depend on the lighting conditions.
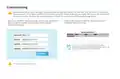
- Page 10: Commissioning Before you install the device, we highly recommend that you first commission it on your LNS. Once the device is restarted or exposed to light, it’ll initiate a LoRaWAN Join Procedure using SF9. Please, make sure you enable ADR in your LNS and/or mark the device as static. Open your LoRaWAN® Network provider access panel and add the device using the supplied Serial Number, DevEUI, AppEUI (JoinEUI) and AppKey. Continue the installation with the instructions of your LoRaWAN® Network provider. You can get DevEUI, AppEUI (JoinEUI) & AppKey information from the LoRaWAN® credentials .csv file we sent you with the fulfillment confirmation.
- Page 11: Page 11

EBERLE UTE 1002-55, UTE 1002-50 Flush Mounted Room Thermostat Instructions
AuVerte SC801 SpiritCatcher Thermostat Owner’s Manual
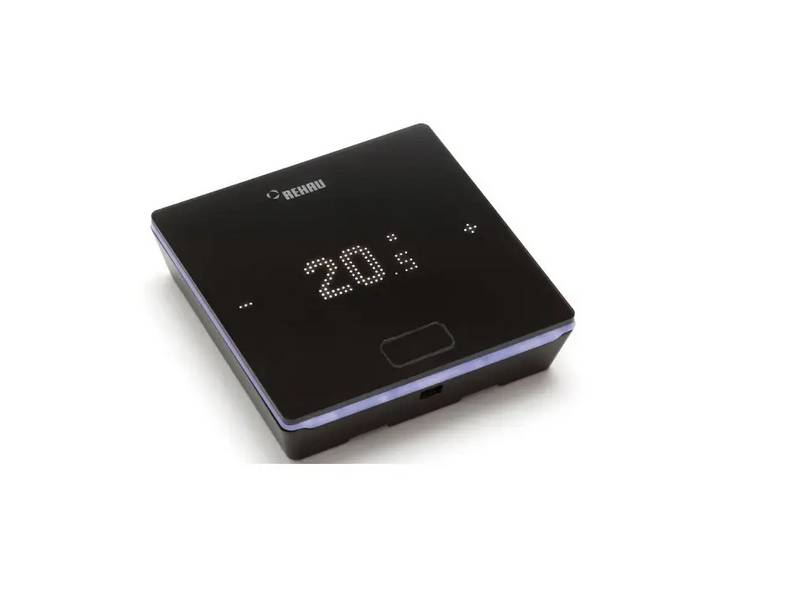
REHAU NEA SMART 2.0 Room Thermostat Installation Guide

MCO Home MH-4936 Z Wave Thermostat Instruction Manual

Amana DS01G Digi Smart Thermostat Instruction Manual

HBX THM-0100 Programmable Thermostat Instruction Manual

Honeywell RTH8500 Wi-Fi Series Thermostat User Guide
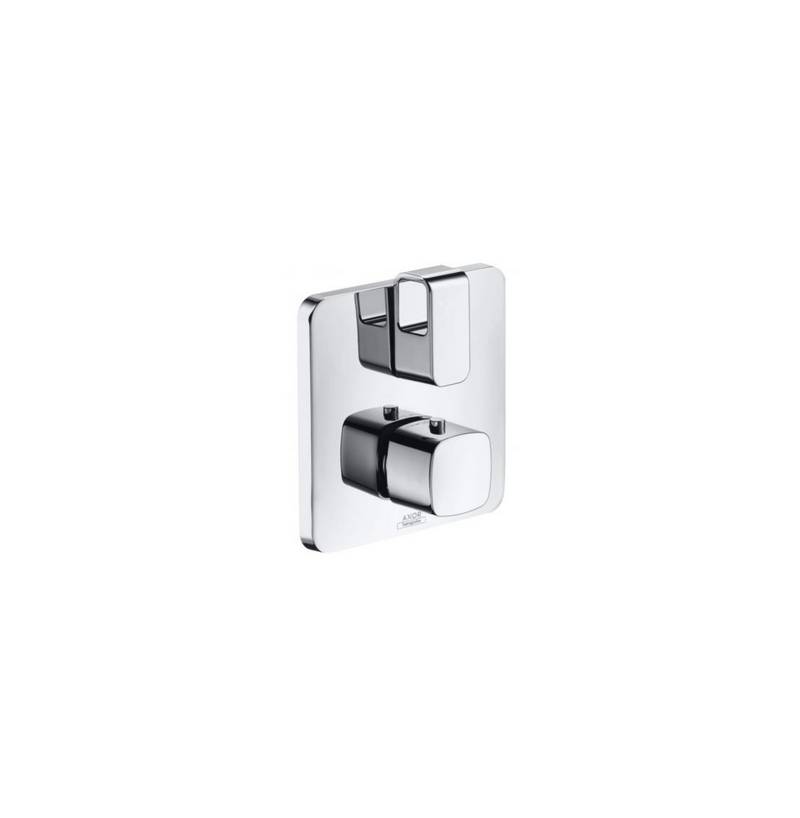
hansgrohe AXOR URQUIOLA Concealed Thermostat with Shut Off Valve Instruction Manual

GENERAL FH101S Underfloor Heating Thermostat User Manual

Honeywell Home FocusPRO N100 Series Non Programmable Thermostat Installation Guide