terneo bx Smart Thermostat Instruction Manual


Technical data sheet
and installation and
operation manual
moment of 2.4 N·m and sensor terminal — 0.5 N·m. Poor
tightening can lead to poor contact and overheating of
terminals and wires, and excessive tightening — to
damage of terminals and wires. The use of aluminum is
not desirable.
terneo
TECHNICAL DATA
THE THERMOSTAT IS MOUNTED AND
CONNECTED after the installation and load testing
Adjustment range
5...45 °С
32 А (max 40 A
for 10 min)
Maximum load current
IN THE CASE OF INCORRECT WIRING, is possible
failure of the thermostat. make sure that external
sensor and mains voltage are connected correctly.
bx
Rated load capacity
From the mounting box with thermostat the mounting tube
(metal tube Ø 16 mm) is put into a zone heated by about
0,5 m. The curves and the length of the tube should
ensure smooth movement of the sensor. The end of the
pipe introduced into the zone, which is heated, must be
carefully sealed to avoid ingress of the solution, for
example, with a tape. The sensor is introduced into the
pipe after solidifying of screed.
7 000 VА
230 V ±10 %
0,3 kg ±10 %
smart thermostat
Input voltage
РЕ
N
L
Weight in the complete set
Temperature sensor (in set)
NTC thermo-resistor
10K OM at 25 °C (R10)
Smart thermostat terneo bx is designed to control a
warm floor based on an electrical heating cable, a
heating film or in the system warm water floor via the
terneo mobile app, my.terneo web-page, or by voice via
Google Assistant.
1
N
1
2
t°
Whit
e
Blue
The length of the sensor
connected cable
4 m
°С
Т
Types of the supported sensors:
analog
If necessary is acceptable reduction and increasing (up to
20 m) of sensor connecting wires. Near the sensor
connecting wires should not be the power cables, they
may be interfere.
5..45 °С
000 VА 32
230 50 Hz
7
А
V
~
NTC 4.7, 6.8, 10, 12, 15,
33, 47K OM at 25 °C
terneo bx
Scan to download the free terneo app
n
eutral
N
input line
in
output line
out
L
L
2
N
3
4
5
digital
D18
Number combinations
under heat, at least
100 000 cycles
It is necessary that the thermostat commutes the current
not more than 2/3 of the maximum power specified in the
passport. If the exceeds 2/3 of the maximum current
specified in the data sheet, the heating cable must be
connected with a contactor (magnetic starter, power
relay), which is designed for this current (wiring 3).
sensor
Number of combinations without
heating, no less than
1 000 000 cycles
Underfloor water heating is controlled by means of
electro-thermal servo actuator with operating voltage of
230 V. Servo actuator can be both normally closed, and
normally open. At the connection of normally open servo
actuator to the temperature regulator use in the additional
settings of «cloud» function Normally closed contact.
load
Temperature hysteresis by floor
0,5...10 °С,
step 0,1 °С
Wiring 1. Connection of the circuit breaker and SSD
Wireless Networking Standard
Wi-Fi power output
802.11 b/g/n
+20 dBm
Heating based on infrared panels, electrical convectors
and other electrical heaters is controlled by placing a
temperature sensor in the air.
WARRANTY TERMS
Minimum recommended speed
of Internet connection
128 kb / s
INSTALLATION
The warranty for terneo devices is valid for 36 months
from the date of sale, provided that the instructions are
followed. The warranty period for products without a
warranty certificate is counted from the date of
production.
Operating frequency range
Minimal Internet traffic
2400-2483,5 MHz
20–30 MB / ms.
–28...+75 °С
The thermostat is designed for indoor installation. The
ingress risk of moisture or liquid into the place of installation
must be minimized. When installed in a bathroom, toilet,
kitchen, swimming pool the thermostat should be installed
at the place out of reach of casual spraying. The ambient
temperature during installation must be between
Measured temperature range
Cross section of connection wires
Overall dimensions
not more than 16 mm2
53 х 85 х 66 mm
20 m
IN THE BOX
If your device is not working properly, we recommend that
you first read the section «Possible problems». If you
cannot find an answer, contact Service Center. In most
cases, these actions resolve all issues.
Thermostat
1 piece
1 piece
Maximum extension length
of the temperature sensor
–5...+ 45 °C. The installation height of the thermostat
should be in the range 0,4...1,7 m above the floor level.
Temperature sensor
with connected sensor
Available languages on the app
ru, ua, en, rom, cs, pl, de
To protect against short-circuit in the load circuit the circuit
breaker (CB) has to be installed before installing the
thermostat. The circuit breaker is installed in the gap of
phase conductor, as shown in the Wiring 1. It should be
designed for not more than 32 A.
If you continue to have issues with the device, please
send it to a Service Center or to the store where you
purchased the device. If your device is defective due to
our fault, we will repair or replace it under warranty within
14 business days.
Technical data sheet and
installation and operation manual
and warranty card
1 piece
1 piece
WIRING
The packing box
Thermostat supports two types of sensors: analog sensor
(thermal resistor) or digital sensor(DS18B20).
To protect a people against electric shock leakage is
installed the SSD (safety shutdown device). This event is
obligatory when installing floor heating in wet areas.
Please see the full text of the warranty and the data you
need to send to your Service Center on the website
have a warranty case, please, contact the General
distributor in your area.
Analog sensor (R10) is connected to terminals 1 and 2. Wires
colorsare of noimportance.
Scan to see all the benefits of Smart
To install the thermostat you should:
— fix the thermostat on the mounting rail (DIN);
— supply power, load and sensor wires;
thermostat terneo bx and download the
terneo app features brochure from the
web-page.
Digital sensor (D18) is connected to terminal 1 using white
wire and toterminal 2 using blue wire. If a thermostat pass into
accidental regime of work of offloading by timer (Operating
Instructions page 12), try connecting to terminal 1 using blue
wire and to terminal 2 using white wire. If, at both attempts,
the thermostat does not see the sensor, contact the Service
Center.
SERVICE CENTER CONTACT:
terneo
+38 (091) 481-91-81
WhatsApp Viber Telegram
— perform the compounds according to the passport data.
The thermostat terminals are designed for a wire with
section not more than 16 mm2. To reduce the mechanical
loads on the terminals it is desirable to use a soft wire. The
wires are tightened in the power terminals with a
screwdriver with a bit width of not more than 6 mm, and in
the terminals for the sensor — of not more than 3 mm. A
screwdriver with a bit width of more than 6 mm for power
terminals (more than 3 mm for sensor terminals) can cause
mechanical damage to the terminals. This may cause to the
loss of the warranty. Tighten the power terminal with
IMPORTANT. Before the installation and operation of
the device, please read by the end of this document.
This will help to avoid possible danger, mistakes and
misunderstandings.
WARRANTY CARD
serial №:
date of sale:
Power voltage (230ꢀVꢀ±ꢀ10 %, 50 Hz) is supplied to terminals
3 and 4, atthat phase(L)isdeterminedbyindicator and iscon-
nected toterminal4, and neutral (N) —toterminal 3.
IN CASE OF NO VOLTAGE, all thermostat and
heating schedule settings are kept in the non-volatile
thermostat storage, and the clock will continue to
operate fed from the internal power source for three
days.
a seller, a seal:
place of a seal
The load connection wiresareconnectedtoterminal5
and to the neutral terminal block (not included).
an owner contact
for a service center:
3
1
2

| General | Details |
|---|---|
| Name | terneo bx Smart Thermostat Instruction Manual |
| Make | terneo |
| Language | English |
| Filetype | PDF (Download) |
| File size | 0.35 MB |

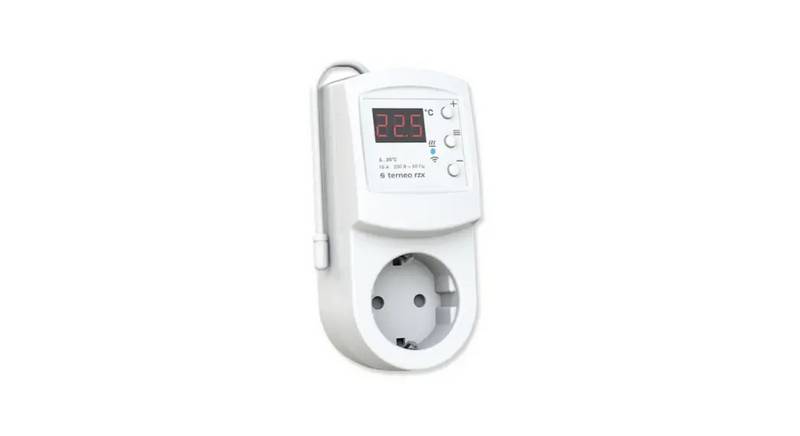
terneo rzx Smart Thermostat User Manual
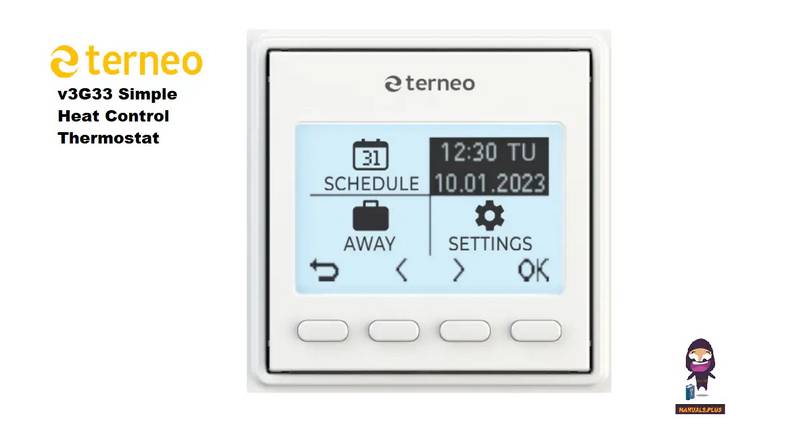
terneo v3G33 Simple Heat Control Thermostat Instruction Manual

terneo BeeRT Digital Thermostat Instruction Manual

terneo bx Smart Thermostat Instruction Manual Overview
Summary of Contents
- Page 1: Technical data sheet and installation and operation manual The thermostat is mounted and connected after the installation and load testing. Adjustment range: 5...45 °C. Maximum load current: 32 A (max 40 A for 10 min). In the case of incorrect wiring, failure of the thermostat is possible. The thermostat is designed to control a warm floor based on an electrical heating cable, a heating film, or in the system warm water floor. The installation height of the thermostat should be in the range of 0.4...1.7 m above the floor level. To protect against short-circuit in the load circuit, the circuit breaker must be installed before installing the thermostat. The warranty for terneo devices is valid for 36 months from the date of sale, provided that the instructions are followed. The thermostat supports two types of sensors: analog sensor (thermal resistor) or digital sensor (DS18B20). Before the installation and operation of the device, please read by the end of this document.
- Page 2: The app will show you how to connect your thermostat. In the presence of the internet, the thermostat will be added to the main application screen and registered in the cloud. If a password is required for the connection, enter DSEXXXXXX, where XXXXXX is the last six symbols in the name of the network. The cloud is intended for the safe keeping of data, comfortable and safe long-distance connection and operation. The thermostat constantly synchronizes with the cloud, performs its commands, receives the latest settings, and sends telemetry about its status. For the statistics and heating schedule to operate correctly, after connecting to the cloud, specify your time zone. The thermostat will generate the connection to your Wi-Fi network, indicated by the constant glow of the blue indicator. In the absence of the Internet, the thermostat will continue its operation according to the latest settings. Smart functions allow you to save up to 50% by maintaining a comfortable floor temperature when you need it only. The WLAN connection does not have to be 5G.
- Page 3: Function menu overview Control from the buttons After switching on, the thermostat displays the sensor temperature. Hand mode allows maintenance of one pre-set temperature. Robot mode is the factory setting for Hand mode. Schedule mode is adjustable via the app. Temporary mode supports changes until the end of the current period. Away mode is tuned only by means of the app. Button blocking can be enabled or disabled for child and public protection. Installed load capacity must be set for proper operation of energy consumption statistics. Factory reset can be performed by pressing a specific button for 30 seconds. Viewing of firmware version is possible by holding a button for 12 seconds. Connection to a Wi-Fi network is necessary for certain features and settings.
- Page 4: The load is disabled, oht flashes on the screen «oht». Possible problems, causes and ways to overcome them. The temperature inside the housing exceeded 85 °C and triggered protection against internal overheating. The thermostat does not display the PIN code. It is necessary to check tension of power wires in the device terminals. The device does not contain harmful substances. Connection failed via Android or iOS apps, the indicator is blue. Do not connect 230 V mains voltage instead of the sensor. Do not immerse the sensor with a connecting wire in the liquid medium. Do not expose the device to extreme temperatures and high humidity.

Honeywell CT8602 Programmable Thermostat User Guide

Honeywell T4098A Deluxe Electric Heat Thermostat Instruction Manual

aube technologies TH115-AF-GA Programmable Thermostat Owner’s Manual

EPH Controls TRFPi2 Programmable RF Thermostat Instruction Manual

GENERAL LIFE FH104S Underfloor Heating Thermostat User Manual

GLOBAL WIFI Digital Heating Thermostat User Manual
COLDBUSTER CB Dual Thermostat User Manual
terneo v3G33 Simple Heat Control Thermostat Instruction Manual

Schneider Electric Wiser Radiator Thermostat Instructions

Braeburn 8205 Universal Smart Wi-Fi Thermostat User Guide